How to Use the Brush Amount Slider in Lightroom CC 2015
Gary Detonnancourt

Controlling Brush Intensity in Lightroom 6 / CC 2015
Featured


Have questions? Use this form to contact us.
We will respond to you as soon as possible.
Thank You,
Gary Detonnancourt
Harrisville, RI 02830
United States
More Than A Snapshot provides online photography education.
This is the blog for More Than A Snapshot's Online Photography Classes. In these blog posts I will give photography tips, tutorials, and show images.
Controlling Brush Intensity in Lightroom 6 / CC 2015
This camera looks really cool. It's an action camera that can show you a 350 field of view. Watch some of the sample videos and make sure you use the arrows in the upper left hand corner to look around during the video. I'm not all that active but even I want one.
This movie was recorded and edited using a Nikon action camera KeyMission 360, which is currently under development for pre-announcement at CES in 2016.
This movie was recorded and edited using a Nikon action camera KeyMission 360, which is currently under development for pre-announcement at CES in 2016.
Nikon Unveils the Nikon D5 and the D500. The D5 is a pro level camera with a fast 12-14 fps shooting speed, tons of AF points (153 AF points, 99 of which are cross-type sensors), and up to ISO 3 million (3,280,000) and it also shoots 4k video. The new D500 is a new fx sensor camera that shoots 4k video. Check out the full story here:
http://imaging.nikon.com/library/news-archives/2016/news160106.htm
The SB-5000 will be Nikon's first radio controlled speedlight - $599
Face Detection in Adobe Lightroom 2015
I'd like to introduce you to a friend of mine, Rad Drew, he is a great photographer and he actually specializes in iPhone Phototography. Check out his stuff you'll be amazed: http://www.raddrewphotography.com/
Want to move more quickly when post processing your iPhone pics? Tired of searching through screens of apps looking for the ONE you want? Watch this brief tutorial and see how an experienced iPhone photographer does it!
10 Tips for Photographing Holiday Lights
by Gary Detonnancourt

Photographing holiday lights is great fun and is very useful for practicing night photography. I think you will get the best results if you do everything manually. Follow these steps to get started:
Nubble Light - Cape Neddick Lighthouse - Maine
1. Flip the switch on your lens to manual focus. Autofocus can work with lights, however, any time I do night photography I prefer to focus manually. If you are using a tripod it would also help to turn off image stabilization (VR, VC, IS).
Historic Wickford Village - Rhode Island
2. Change the camera's shooting mode to Manual. Shoot RAW if possible because you will have much more control when editing.
3. Go into the camera's menu and turn off Long Exposure Noise Reduction. The feature does remove noise, but it doubles the exposure time. Today's image editing software (Lightroom, Photoshop etc...) are able to remove the noise. You may also want to turn down the brightness of your screen a bit (-2, -3), a bright screen can make you think the exposure is too bright.
4. When shooting at night with a DSLR, you should cover the eyepiece, and use live view. Canon camera's come with a black piece of rubber on the camera strap that can be used to cover the eyepiece. Nikon's have a switch to close the eyepiece and mirrorless camera's don't need to cover to do this because they don't use a mirror. Blocking the eyepiece prevents light from coming in and affecting the exposure.
5. Use a tripod and a cable release. If you don't have a cable release you can use the camera's timer.
5. Set the ISO to the lowest native ISO for your camera (50, 100, 200), unless your subject is moving, then you may need to increase the ISO to stop the motion of the subject.
I love this shot but I messed up. Shooting at the lowest ISO works well when you subject isn't moving, but you have to remember to bump up the ISO for moving subjects, or you'll get a blur like I got on this dog.
6. I recommend setting your white balance manually (K), and take few test shots until you get an image with no color cast, for holiday lights this may be in the 2800-3500 range. You could choose tungsten when photographing older style lights or daylight when shooting more modern LED lights.
7. Choose an aperture based on how much depth of field you need for the shot. When not much depth is needed, try between f/4 and f/8.
8. Set the shutter speed for the correct exposure based on the ISO and aperture you have previously chosen. Take a test shot and use the RGB histogram to make sure the image isn't overexposed. Push the exposure as far to the right as you can without overexposing. You can alway darken an overly bright image in your image editing software.
9. Use high ISO preview to avoid wasting time on long test shots. If you do your test shots at ISO 100, you may waste a lot of time waiting to see a shot that isn't exposed properly. If you chose to shoot at ISO 100, try using a high ISO for your first test shot like 6400 (6 stop difference), this should make the exposure time pretty short so you can narrow the exposure down to the perfect shutter speed. Once you have figured out the correct shutter speed, convert it to minutes.
10. Use live view to frame up the shot. Use the zoom in button to zoom in on some detail so you can manually focus with much better accuracy.
Canon has an AF configuration tool with 6 presets for photographing different types of motion. It is available on the Canon 1D X, 5D MIII, and there is some form of it on the 6D and 7D MII. These preset cases can help you get better focus when using AI Servo as the focusing mode. AI Servo continuously focus on a moving subject and these six presets contain parameters such as tracking sensitivity, Accelleration / decelleration tracking, and AF point auto swithching.
I've been experimenting with these cases for birds in flight. I used to use Case 1 and wasn't really happy with it. I tried Case 3 because I wanted faster (more sensative af tracking) and it seemed to work really well for this swan the was flying right toward me.
As you can see in the image above Case 3 uses +1 for Tracking sensitivity, which I found useful because I want to be on my subject as fast as possible and if my AF point falls off, that's OK if it can re-acquire focus very quickly. I've seen some bird photographers prefer to set this to -1 or 0 so the AF points don't get distracted by other objects and switch to focusing on something else, but I prefer to get on the subject quicker.
The accel. / decel. tracking is set to +1 which works well for subjects that tend to accelerate or decellerate quickly. Birds in flight may not change speeds quickly but again I'm looking for more sesitivity.
The AF point auto switching parameter isn't very important to me because I usually use a single point AF, sometimes with the 4 box expansion. Therefore, this function can be set low because I don't use it.
Here is a summary of all six cases:
Case 1 - Versatile multi purpose setting: 0,0,0. Adequate for larger birds in flight in open terrain, not flying right at you. The camera gets on the bird and stays with it if you stay on the bird. A good general setting.
Case 2 - Continue to track subjects, ignoring possible obstacles: -1,0,0. Example 1: When you’re locked onto a bird as it gets behind a floc, and you want to stay on the original bird. Example 2. A medium-sized bird in a thicket where you want the camera to ignore interfering branches as you follow a birds movement.
Case 3 - Instantly focus on subjects suddenly entering AF points: +1,0,0. You’re photographing a flock so it would make sense to pick up the closest birds as you usually want the closest thing to you to be in focus. Another scenarios is that you're on a bird and another nearby one flies in front of it, here it would make sense to switch focus to the near bird rather than the one now further away.
Case 4 - For subjects that accelerate or decelerate quickly: 0,+1,0. A large or medium bird coming right at you, coming in for a landing, taking off or buzzing by fairly quickly. An example would be where a bird leaps off the water, flies at you, and spreads it wings to land.
Case 5 - For erratic subjects moving quickly in any direction: 0,0,+1. Best for birds that change direction quickly such as leaping off a perch. Works well with 61-point AF expansion, and non-busy backgrounds. Best shot for this setting is to have the bird at a far left or right AF point in anticipation of it flying into the frame.
Case 6 - For subjects that change speed and move erratically: 0,+1,+1. Best for small birds that change direction quickly while in flight.
After all this experimenting, I decided to look up what Aurther Morris had to say on the subject, since he is a bird photography expert. It looks like I was off a little, he doesn't like Case 3 for birds except that he finds it the best one to customize. He says that every situation is different but for birds in flight you can't go wrong with this setup.
“Tracking sensitivity
I have always felt that the left-most setting (-2, locked on) here is best for birds in flight as the camera will continue focusing on the subject even if an obstacle enters the active AF points or if the active sensor falls off the subject due to operator error. This one has always seemed to be a no-brainer to me yet others prefer either one of the next two more responsive settings, -1 or neutral.
Acceleration/deceleration tracking
This one seems to be another no-brainer to me; with this set to 2, the system continues to focus on the subject if the subject’s speed changes dramatically. With a subject moving towards the camera the system is less prone to focus beyond the subject. And if the subject stops suddenly, the camera is less prone to focus in front of it. As I said, this is another bird photography no-brainer.
AF point auto switching
Well, let’s go for three for three in the no-brainer department; setting this one to 2 allows the camera to switch AF points more quickly if the subject moves dramatically left or right or up or down. Note: this setting has no effect unless you are using 61-point or Zone AF.
I set Case 3 (with my custom settings: -2, 2, 2) for pretty much all of my flight and action photography.
Note: AF point auto switching settings will have no effect when you are in either Single Point or Spot AF.”
To create a custom Case, go to the first menu in AF, scroll down to the Case you want to over-write. Hit the rate button on the left side of the camera body and then press the Set button in the thumb wheel. Turn the dial to the left to -2 and hit Set. Scroll down to Accel./decel. and hit Set again. Turn the thumb wheel to 2 and hit Set. Do the same for AF point switching and set it to 2.
Click here for more information from Canon.
Click here for the Canon 5D MIII's AF Setting Guidebook
Also if anyone knows how Nikon handles focusing in AF-C, please post it in the comments.
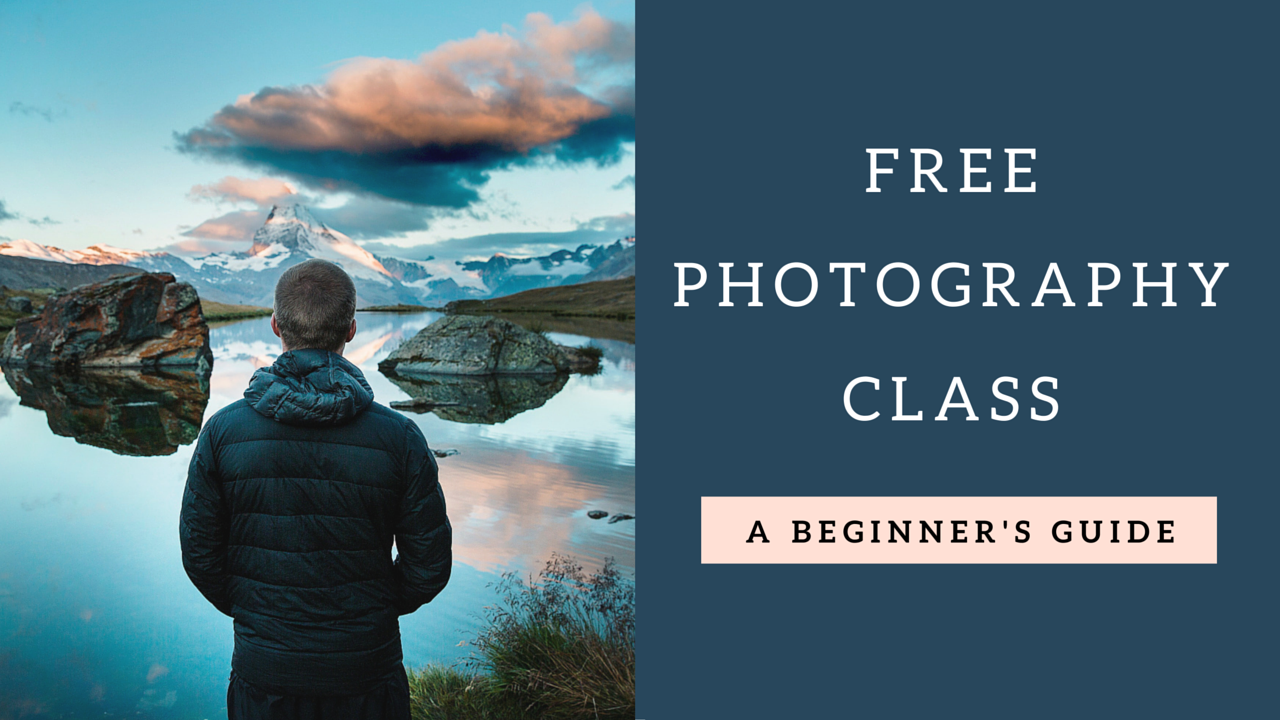
If you missed Monday night's webinar on Landscape photography you really should watch the re-play. Marion gave us tons of great photography and Photoshop tips. You can find it at the link below.
Click on the image above to sign up for my free e-mail photography course.