Contact Us

Have questions?  Use this form to contact us.

We will respond to you as soon as possible.

Thank You,

Gary Detonnancourt


Harrisville, RI 02830
United States

More Than A Snapshot provides online photography education.

Booth Bay Harbor 2013-5410-color enhanced.jpg

Blog

This is the blog for More Than A Snapshot's Online Photography Classes.  In these blog posts I will give photography tips, tutorials, and show images.

Filtering by Tag: color

Dodge & Burn with Luminance in LightRoom

Gary Detonnancourt


Dodge & Burn with Luminance in Lightroom Adobe Photoshop Lightroom Classic CC Release 7.4 has added a new blend if slider to make your adjustments more targeted to colors or luminance levels. In this video, I will show you how you can use the luminance range mask for dodging and burning your images.

How to use the Range Mask in Lightroom.  The range mask can be used with the Graduated Filter, Radial Filter or Adjustment Brush.

1. Use one of these tools to make an adjustment to your image.

2. Scroll down to the bottom of the tool's panel and click on range mask.

3. Select Color or Luminance

4. Adjust the blend if sliders and smoothness slider to taste.

If you found this video to be helpful, please check out my full Lightroom course listed below.

Music:

Track: Nurko and Last Heroes - Promise Me (feat. Jessie Chambers) [NCS Release] Music provided by NoCopyrightSounds.

Watch: https://youtu.be/khfiHzJaz5k

Free Download / Stream: http://ncs.io/PromiseMeYO

-------------------------------------------------------------------------------------------------------------------------------

Links to my Sites:

https://www.morethanasnapshot.com/

My Gear & Recommendations:

YouTube: https://www.youtube.com/channel/UCfci...

Facebook:

https://www.facebook.com/mtassphotocl...

Instagram: https://www.instagram.com/more_than_a...

-------------------------------------------------------------------------------------------------------------------------------

A $4000 Image!

Gary Detonnancourt

Why is this image so expensive, because right after I took it, disaster struck.  I found this great scene and I was working it for all it was worth.  I had that great swirl in the water and some fantastic fall color in the background.  I decided that the image could be even better if I used a polarizer to remove some glare from the leaves and water.  Photographically this was a great decision but it caused me to fight with the filter holder which caused me to unlatch the tripod head.  Then I got my shot, but I forgot about the tripod head and when a picked up my tripod a heard a big splash.  My Canon 5D M IV and my Canon 17-40 mm lens were completely submerged.  I was able to retrieve them and I tried to dry it out and I sent it to Canon and they were both a complete loss.  Luckily the memory cards survived and I was able to get the images and my insurance should pay for most of the loss and as it turns out this image won second place in my camera club, so I guess it was all worth it in the end. 

Merry Christmas & Happy Holidays

Gary Detonnancourt

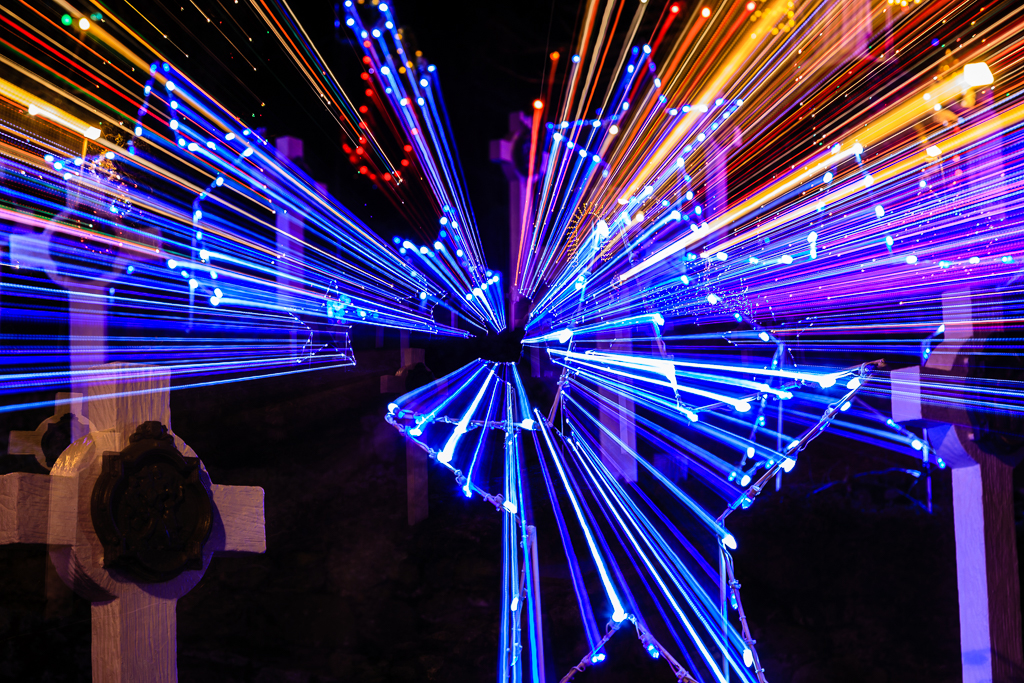
This year my camera club decided to have our Christmas party at a local shrine that decorates with tons of Christmas lights.  Of course, there was a shoot before the party and here are some of my images.  I've photographed this place many times so this time I went a bit more abstract.

I'd like to wish everyone a safe, happy, holiday season.

Canon's DPP 4 Vs. Lightroom CC 2015 for Color

Gary Detonnancourt

I've heard that Canon's DPP 4, while not a great image editing program, may produce better colors than Lightroom for photographers that shoot and process raw images, so I decided to test this out for myself.  In these test images I tried to do as little in each program as possible, mostly picking the color profile, cropping, noise reduction and sharpening.

Lightroom CC

DPP 4

DPP 4

Lightroom CC

DPP 4

I think in most cases the colors are very similar.  Sometimes the colors look the same as in the deer image and sometimes there was a slight difference as in the blue color of the hawk image.  DPP did seem to have stronger sharpening and the auto lighting optimizer tool seems to work well.  Overall, I'm sure its worth the extra effort to use both DPP and Lightroom.  Let me know what you think in the comments below.

In the images below I did more post processing to bring them closer to finished images.

Lightroom

DPP 4

At first I liked the green background from DPP better but it may just be brighter.

Lightroom

DPP 4 - To be fair I did more work on this image.