
Mastering Exposure: How to Capture Perfectly Exposed Photos with Your Canon R50 Mirrorless Camera
Gary Detonnancourt

Gary Detonnancourt
Photography Educator
6/5/2023
Introduction
This blog post will help you capture perfectly exposed photos with the Canon R50 mirrorless camera. This begins with a discussion of the exposure triangle. The exposure triangle is a fundamental concept in photography that helps photographers understand how to capture the perfect exposure. It consists of three elements: aperture, shutter speed, and ISO. Each element affects the outcome of an image differently, and mastering their combination is key to achieving great results.
In this blog post, we will explore how to use all of these settings on a Canon R50 mirrorless camera to get the best possible exposure for your photos. We'll start by looking at the basics of the exposure triangle and then move on to more advanced topics such as shutter priority mode, aperture priority mode, and manual mode. Finally, we'll provide some product recommendations for accessories or lenses that can help you achieve the perfect exposure with your Canon camera.

The Basics of the Exposure Triangle
The exposure triangle is composed of three elements: aperture, shutter speed, and ISO. Each element affects how much light enters your camera when taking a photo. Aperture controls how wide or narrow your lens opening is; it's measured in f-stops (f/2.8 being wide open). Shutter speed determines how long your camera's shutter stays open; it's measured in fractions of a second (1/250 being fast). And finally, ISO determines how sensitive your camera's sensor is to light; it's measured in numbers (100 being low sensitivity).
When shooting with a Canon R50 camera, you have several options for controlling these three elements. You can use either Manual Mode or one of two semi-automatic modes: Aperture Priority (Av) or Shutter Priority (Tv). In Manual Mode you can adjust all three elements independently; in Av mode you set the aperture while the camera sets the shutter speed; and in Tv mode you set the shutter speed while the camera sets the aperture.
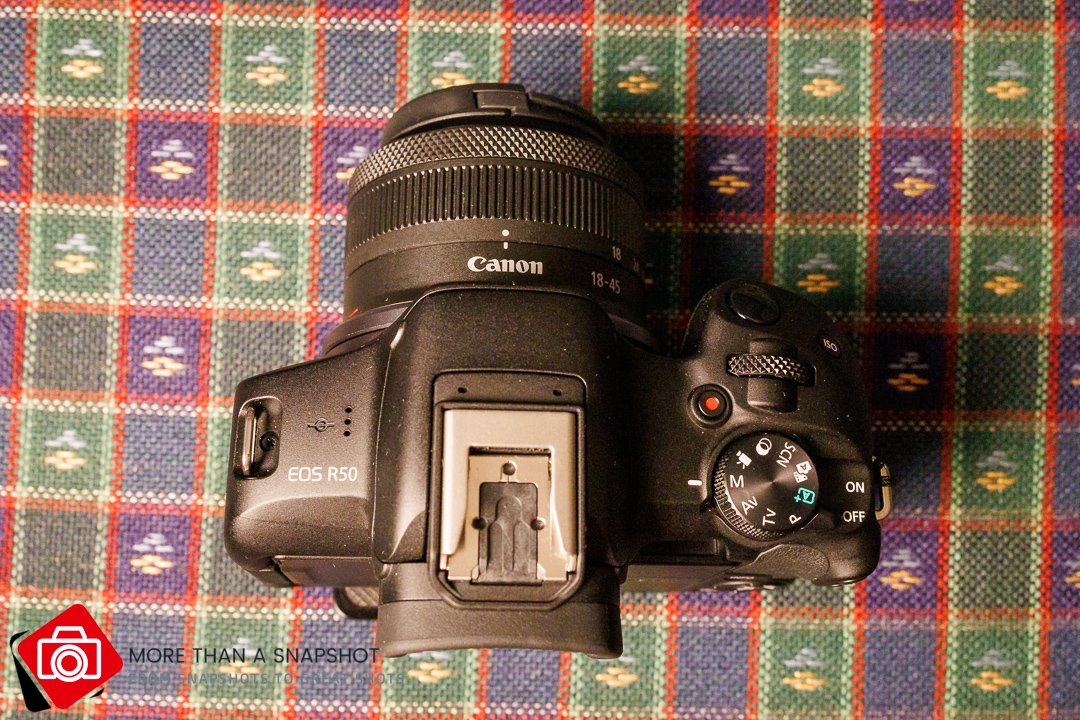
Use the Mode dial to choose, Program, Shutter Priority (Tv), Aperture Priority (AV), or Manual Mode (M).
What situations work best for each of these shooting modes
When it comes to photography, there are three main modes that you can use: Aperture Priority (AP), Shutter Priority (SP) and Manual Mode. Each of these modes has its own advantages and disadvantages, so it is important to understand when each mode should be used.
Aperture Priority is best used when you want to control the depth of field in your photos. This mode allows you to set the aperture while the camera automatically adjusts the shutter speed for correct exposure. This makes it ideal for landscape photography, as it allows you to keep the same depth of field throughout your shots.
Shutter Priority is best used when you want to control the amount of motion blur in your photos. This mode allows you to set the shutter speed while the camera automatically adjusts the aperture for correct exposure. This makes it ideal for sports or wildlife photography, as it allows you to capture fast-moving subjects without blurring them out.
Finally, Manual Mode is best used when you want complete control over both aperture and shutter speed settings. This mode requires more knowledge and experience than either AP or SP, but gives you full control over how your photos turn out. It's great for situations where precise exposure settings are needed, such as night photography or studio work.
Overall, understanding which shooting mode works best in any given situation will help ensure that your photos come out looking their best! Now let’s take a closer look at how each one of these modes work.
How to Shoot the Canon R50 in Aperture Priority Mode
If you’re looking for a great way to take your photography to the next level, then shooting with the Canon R50 in aperture priority mode is a great option. This mode allows you to set the desired aperture value and have the camera automatically adjust the shutter speed for standard exposure.
To use Aperture-Priority AE Mode (Av) on the EOS R50, start by setting the desired aperture value. You can do this by turning the dial until you get your desired value. Then focus on your subject and press the shutter button halfway down. The camera will then automatically adjust the shutter speed based on what you have chosen for your aperture value.
The dial above the shutter button controls aperture when your in Aperture Priority Mode or the shutter speed if your in Shutter Priority Mode.
How to Shoot the Canon R50 in Shutter Priority Mode
Shooting with the Canon R50 in Shutter Priority mode is a great way to take control of your photography and get creative. With shutter priority, you can set the shutter speed and the camera will automatically adjust the aperture value to obtain the correct exposure. This gives you more control over how much light enters the camera and allows you to capture motion in a unique way.
When shooting in shutter priority mode, it’s important to keep an eye on your shutter speed. The Canon R50 has a maximum shutter speed of 1/4000 sec, so if you want to freeze motion or capture fast-moving subjects, make sure your shutter speed is set accordingly. You can also use slower shutter speeds for creative effects like blurring movement or capturing light trails.
The Canon R50 also features first-curtain synchronization with built-in flash, which is useful for freezing motion when using flash. This feature works best with shutter speeds faster than 1/30 sec, so make sure your settings are adjusted accordingly before taking a shot. Additionally, it’s important to note that the Canon R50 does not have a 5-pin contact for previous accessories, so if you’re looking to use any additional equipment with this camera, be sure to check compatibility first.
Overall, shooting with the Canon R50 in Shutter Priority mode is a great way to take control of your photography and create stunning images. With its fast maximum shutter speed and built-in flash synchronization capabilities, this camera is perfect for capturing all kinds of action shots and creative effects. So get out there and start experimenting!
How to Use Manual Mode on the Canon R50
Using manual mode on the Canon R50 is easy once you know how. Here's a step-by-step guide to get you started:
Step 1: Set the Mode Dial to M
The first step to using manual mode is to set the mode dial to M. This will put your camera in manual mode and allow you to adjust the settings yourself.
Step 2: Adjust the Aperture
The aperture controls the amount of light that enters the camera. To adjust the aperture, press the AV button on the back of the camera and rotate the dial on the top of the camera. A lower number (e.g. f/2.8) will create a shallow depth of field and blur the background. A higher number (e.g. f/16) will keep everything in focus.
Step 3: Adjust the Shutter Speed
The shutter speed controls the amount of time the camera's sensor is exposed to light. To adjust the shutter speed, press the TV button on the back of the camera and rotate the dial on the top of the camera. A slower shutter speed (e.g. 1/30) will create motion blur, while a faster shutter speed (e.g. 1/1000) will freeze the action.
Step 4: Adjust the ISO
The ISO controls the sensitivity of the camera's sensor to light. To adjust the ISO, press the ISO button on the top of the camera and rotate the dial on the back of the camera. A higher ISO (e.g. 1600) will allow you to take photos in low light conditions, but it will also introduce noise into the image.
Step 5: Take Your Shot
Once you've adjusted the aperture, shutter speed, and ISO to your liking, it's time to take your shot. Press the shutter button on the top of the camera to capture your image.
How to Read a Histogram on the Canon R50
If you're a photographer, you know how important it is to understand your camera and its features. One of the most important features is the histogram, which can help you take better photos. But what is a histogram, and how do you read it? Let's take a look at what a histogram is and how to read one on the Canon R50.

The white graph is the histogram from the Canon R50.
A histogram is a graph that shows the distribution of light in an image. It looks like a bar chart with different heights for each color in the image. The left side of the graph represents dark tones while the right side represents bright tones. The higher up the bar goes, the more of that particular tone there is in the image.
To read a histogram on your Canon R50, first turn on your camera and navigate to the camera icon, then to tab 8, then to shooting info display, then to Screen info settings, and finally put a checkmark next to number 3. This will allow you to see your histogram display when you are taking pictures. Once enabled, you'll be able to view your histogram as soon as you take a picture by pressing down on your shutter button halfway.
When looking at your histogram, pay attention to where most of your bars are located. If they are all bunched up on one side or another, this means that either your image is too dark or too bright overall and needs some adjustment before taking another shot. If they are evenly distributed across both sides, then this means that your exposure levels are good and no adjustments need to be made!
By understanding how to read a histogram on your Canon R50, you can ensure that all of your photos come out perfectly exposed every time! So don't forget this important feature when shooting with your camera!

This is an example of a histogram from inside Adobe Lightroom.
Product Recommendations
Finally, here are some product recommendations for accessories or lenses that can help you achieve better exposures with your Canon R50 camera:
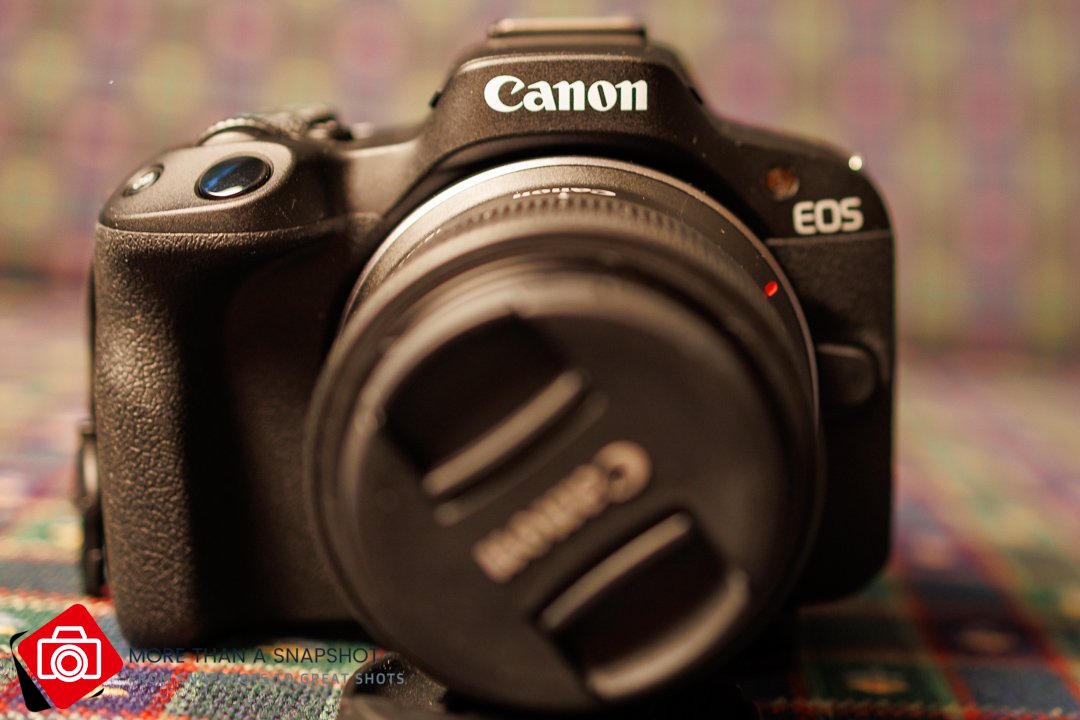
Canon RF 50mm f/1.8 STM Lens: This lens offers excellent low-light performance thanks to its wide maximum aperture setting (f/1.8). It also has an STM motor, which makes it ideal for video recording as well as still photography due to its quiet autofocus operation and smooth focus transitions when zooming in and out during recording sessions.
Neewer NW670 TTL Flash Speedlite: This flash offers both manual and TTL control over its output power, so you can easily adjust it depending on what type of lighting conditions you're working with at any given time—great for when shooting outdoors during sunset hours! Plus, it comes with several additional features, such as high-speed sync up to 1/8000s and rear curtain sync functions, which make it even more versatile when trying to achieve different types of exposures with your Canon R50 camera body!
Vello Auto Extension Tube Set: This extension tube set allows you to increase magnification levels without having to buy additional lenses—perfect for macro photography! It also works great when combined with other optics such as teleconverters, which further increase magnification levels even more!
With these products at hand and knowledge about how each element within the exposure triangle works together on a Canon R50 body, photographers should be able to create stunning images no matter what type of lighting conditions they're working under!