Contact Us

Have questions?  Use this form to contact us.

We will respond to you as soon as possible.

Thank You,

Gary Detonnancourt


Harrisville, RI 02830
United States

More Than A Snapshot provides online photography education.

Booth Bay Harbor 2013-5410-color enhanced.jpg

Blog

This is the blog for More Than A Snapshot's Online Photography Classes.  In these blog posts I will give photography tips, tutorials, and show images.

Filtering by Tag: focus

What is Depth of Field in Photography?

Gary Detonnancourt

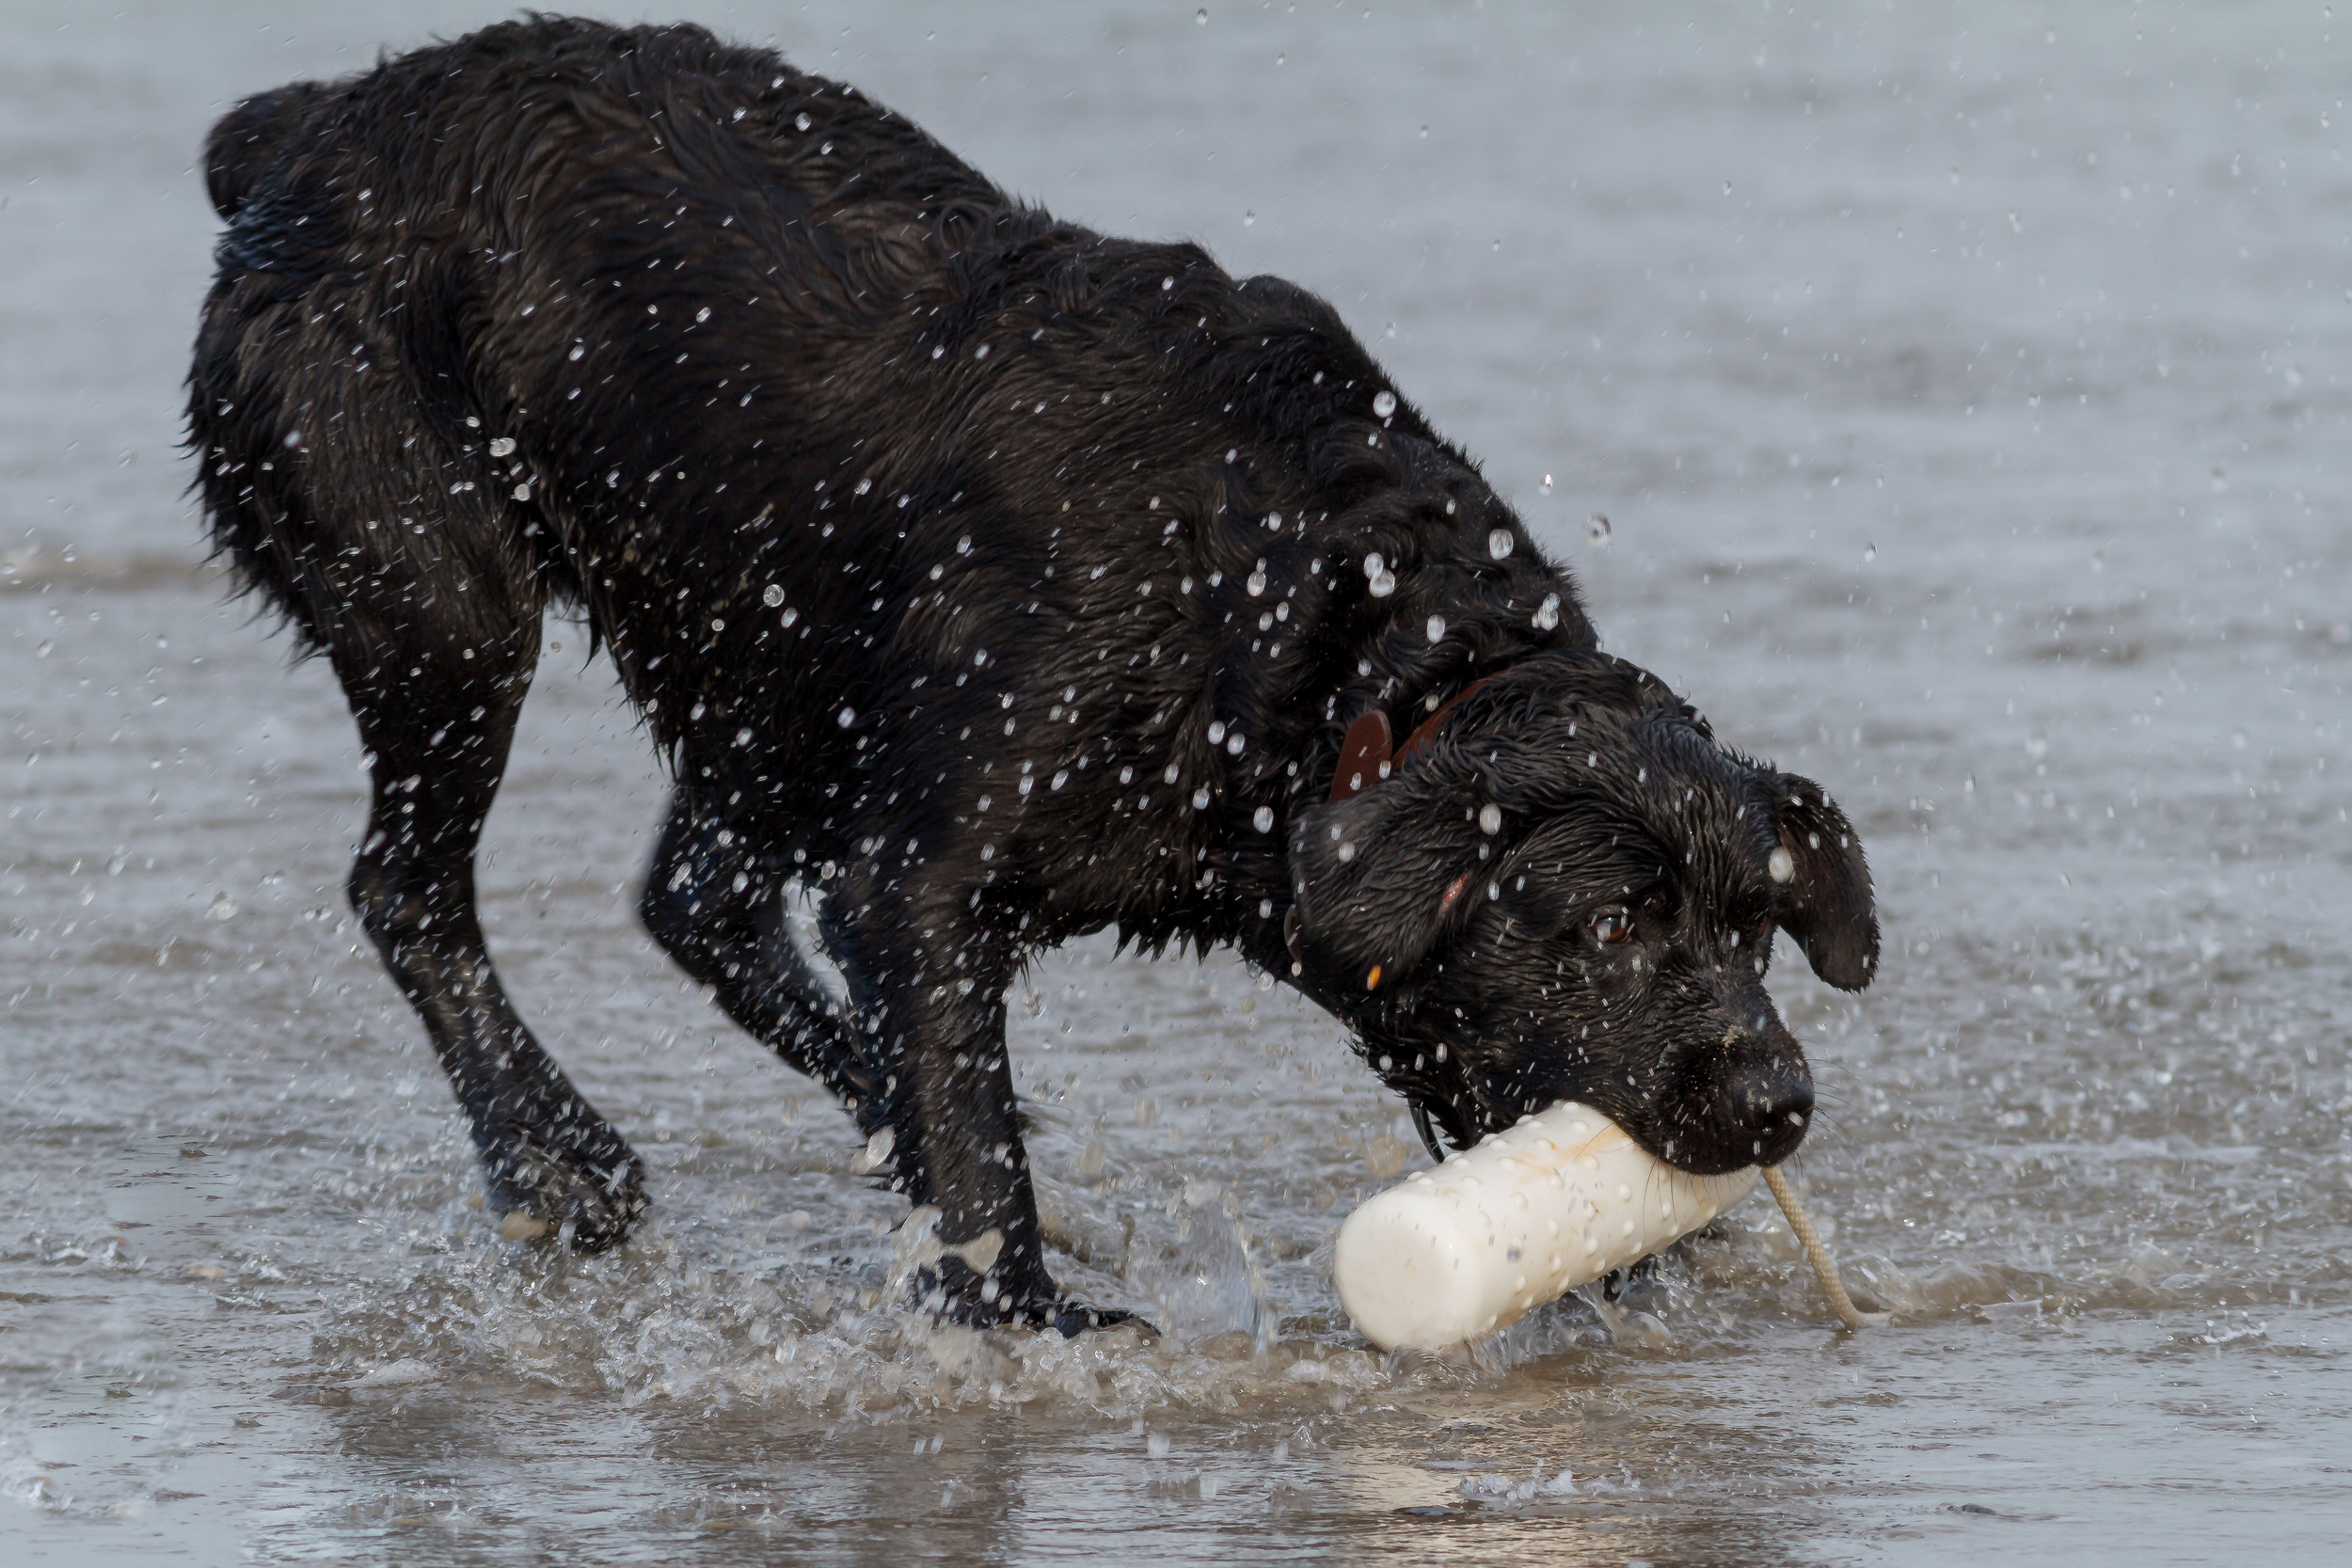
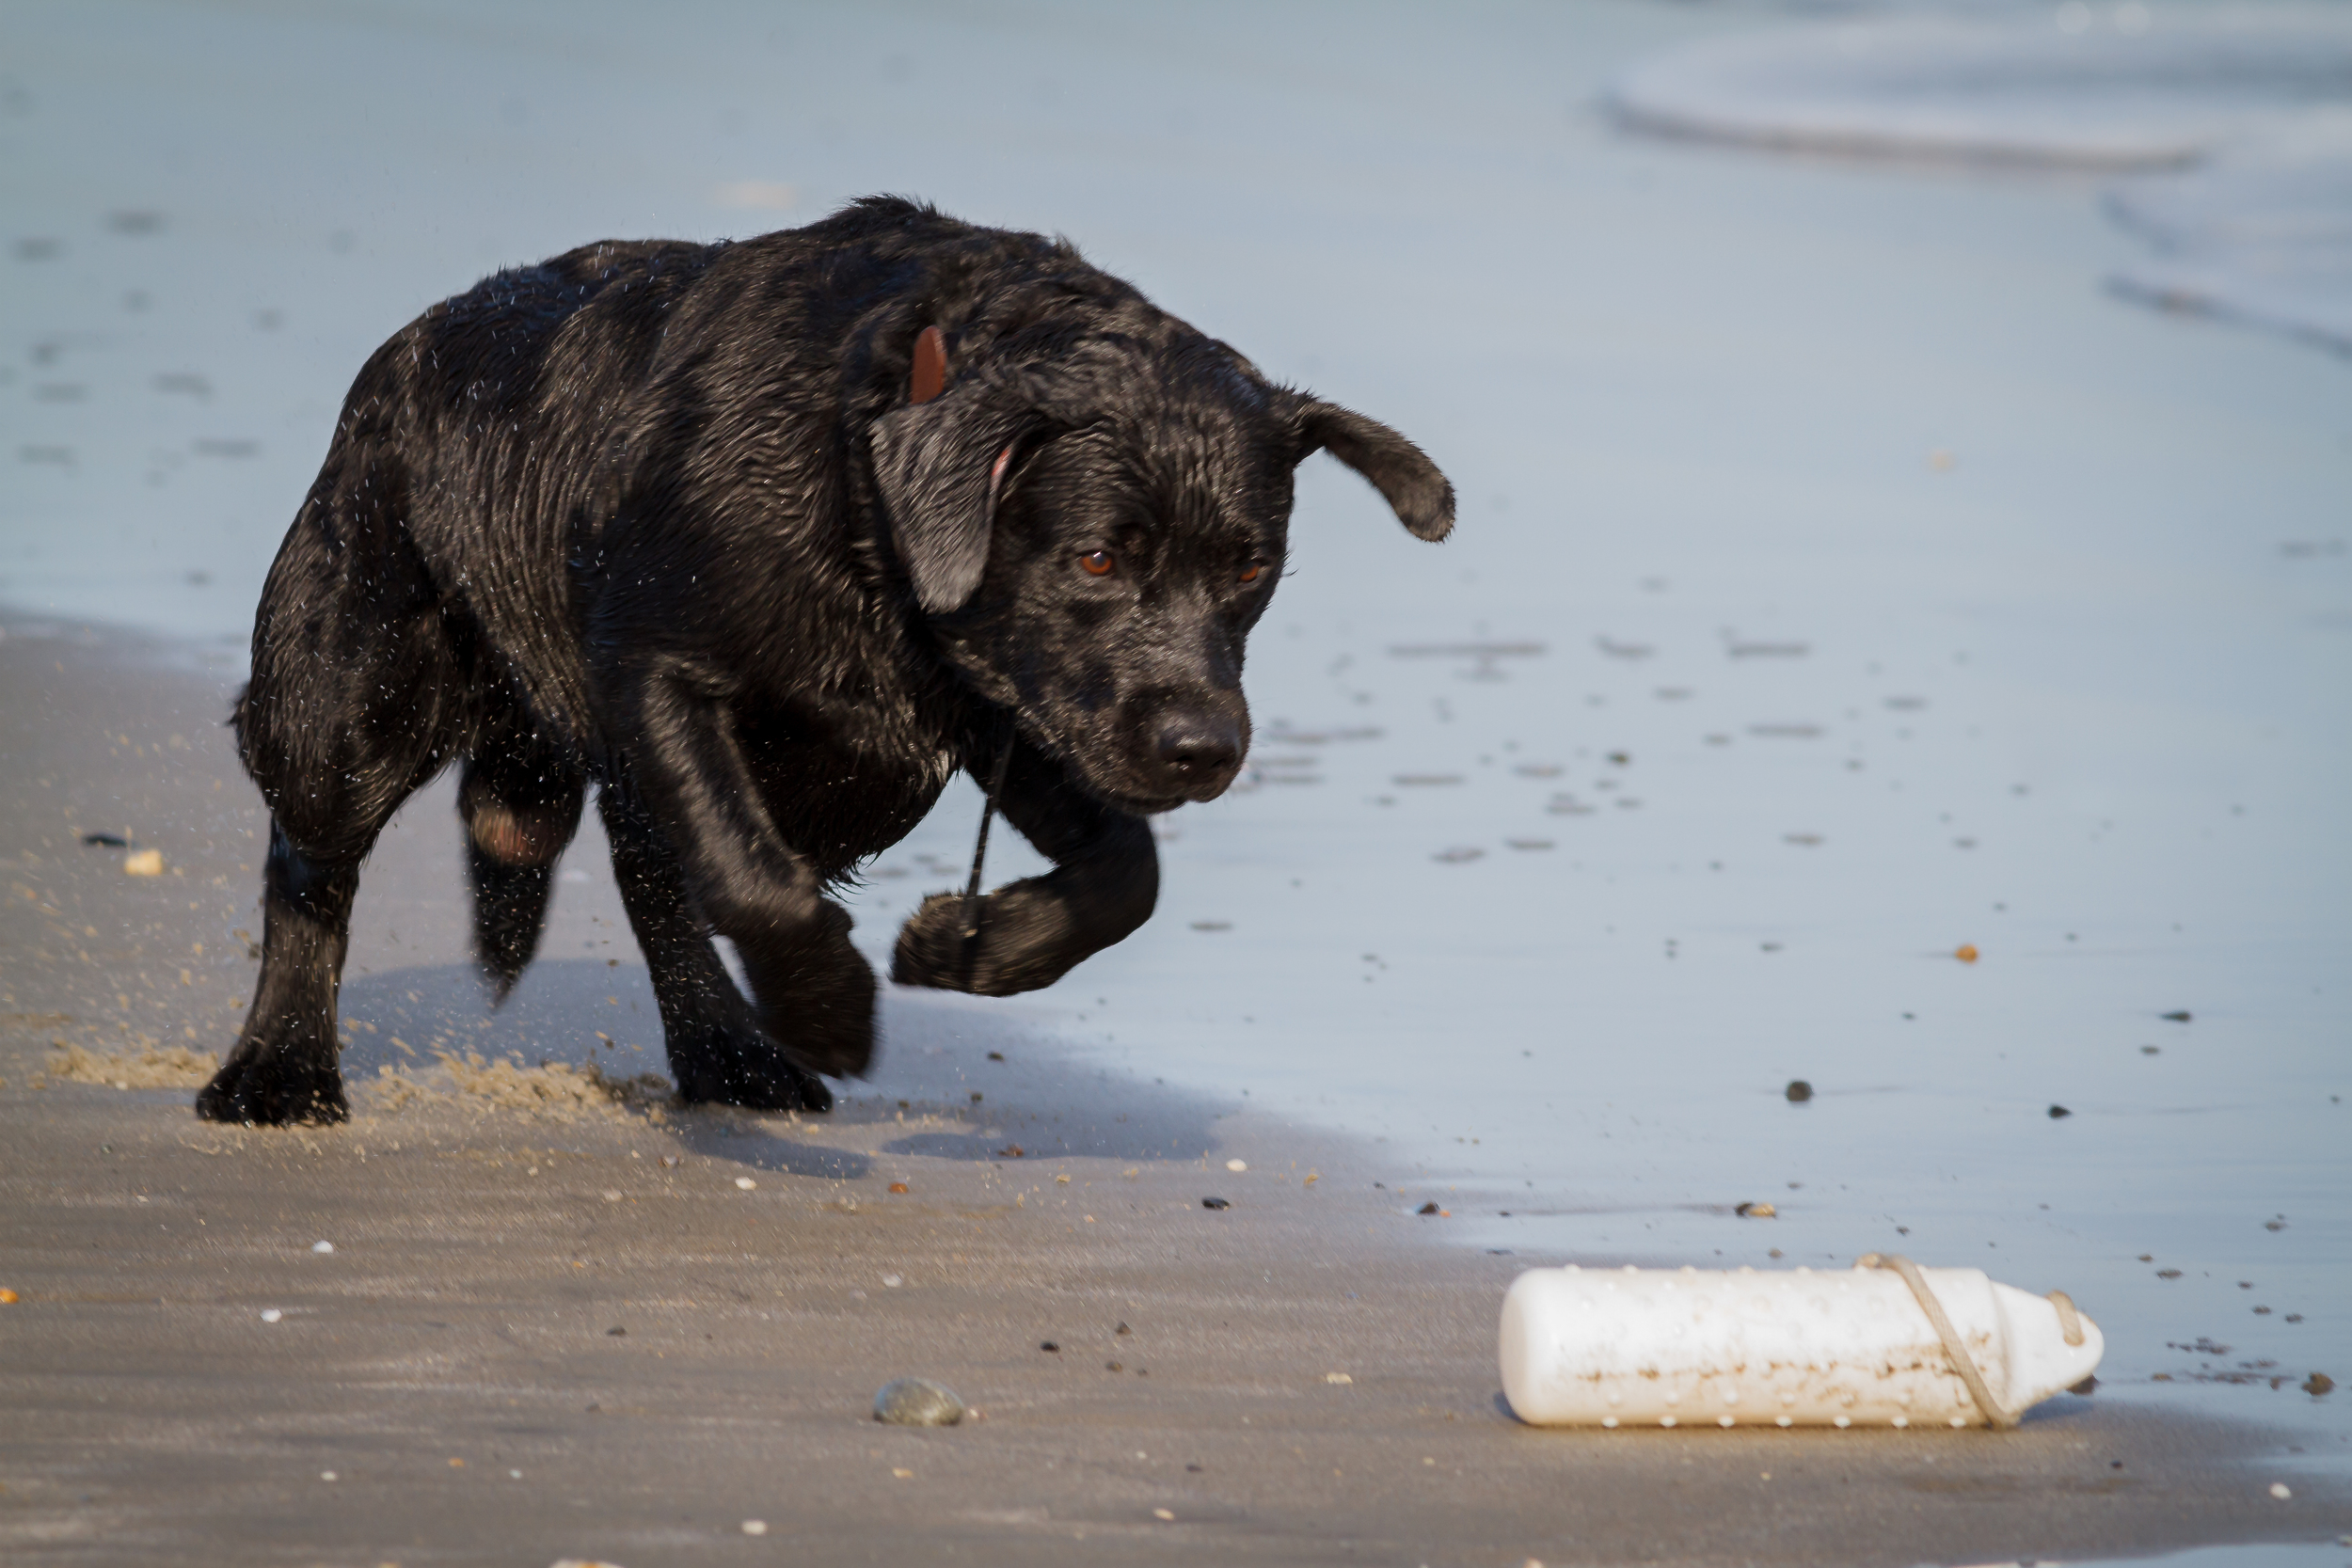
Depth of field (DOF) is an important concept to understand when it comes to photography. It refers to the area of a photograph that appears sharp and in focus. The depth of field can be used to create dramatic and visually appealing photos by controlling what parts of the image are in focus and what parts are blurred out.

How Aperture, Focal Length, and Camera Settings Affect Depth of Field

Aperture is one of the most important factors when it comes to controlling depth of field. Aperture refers to the size of the opening in your lens, that allows light into your camera. A larger aperture will result in a shallow depth of field, while a smaller aperture will result in a deeper depth of field.


Focal length also affects depth of field; longer focal lengths (such as telephoto lenses) tend to have shallower depths of field than shorter focal lengths (such as wide-angle lenses). Additionally, camera settings such as ISO and shutter speed can also affect the depth of field; higher ISO values and faster shutter speeds tend to result in shallower depths of field.


Tips for Utilizing Depth Of Field

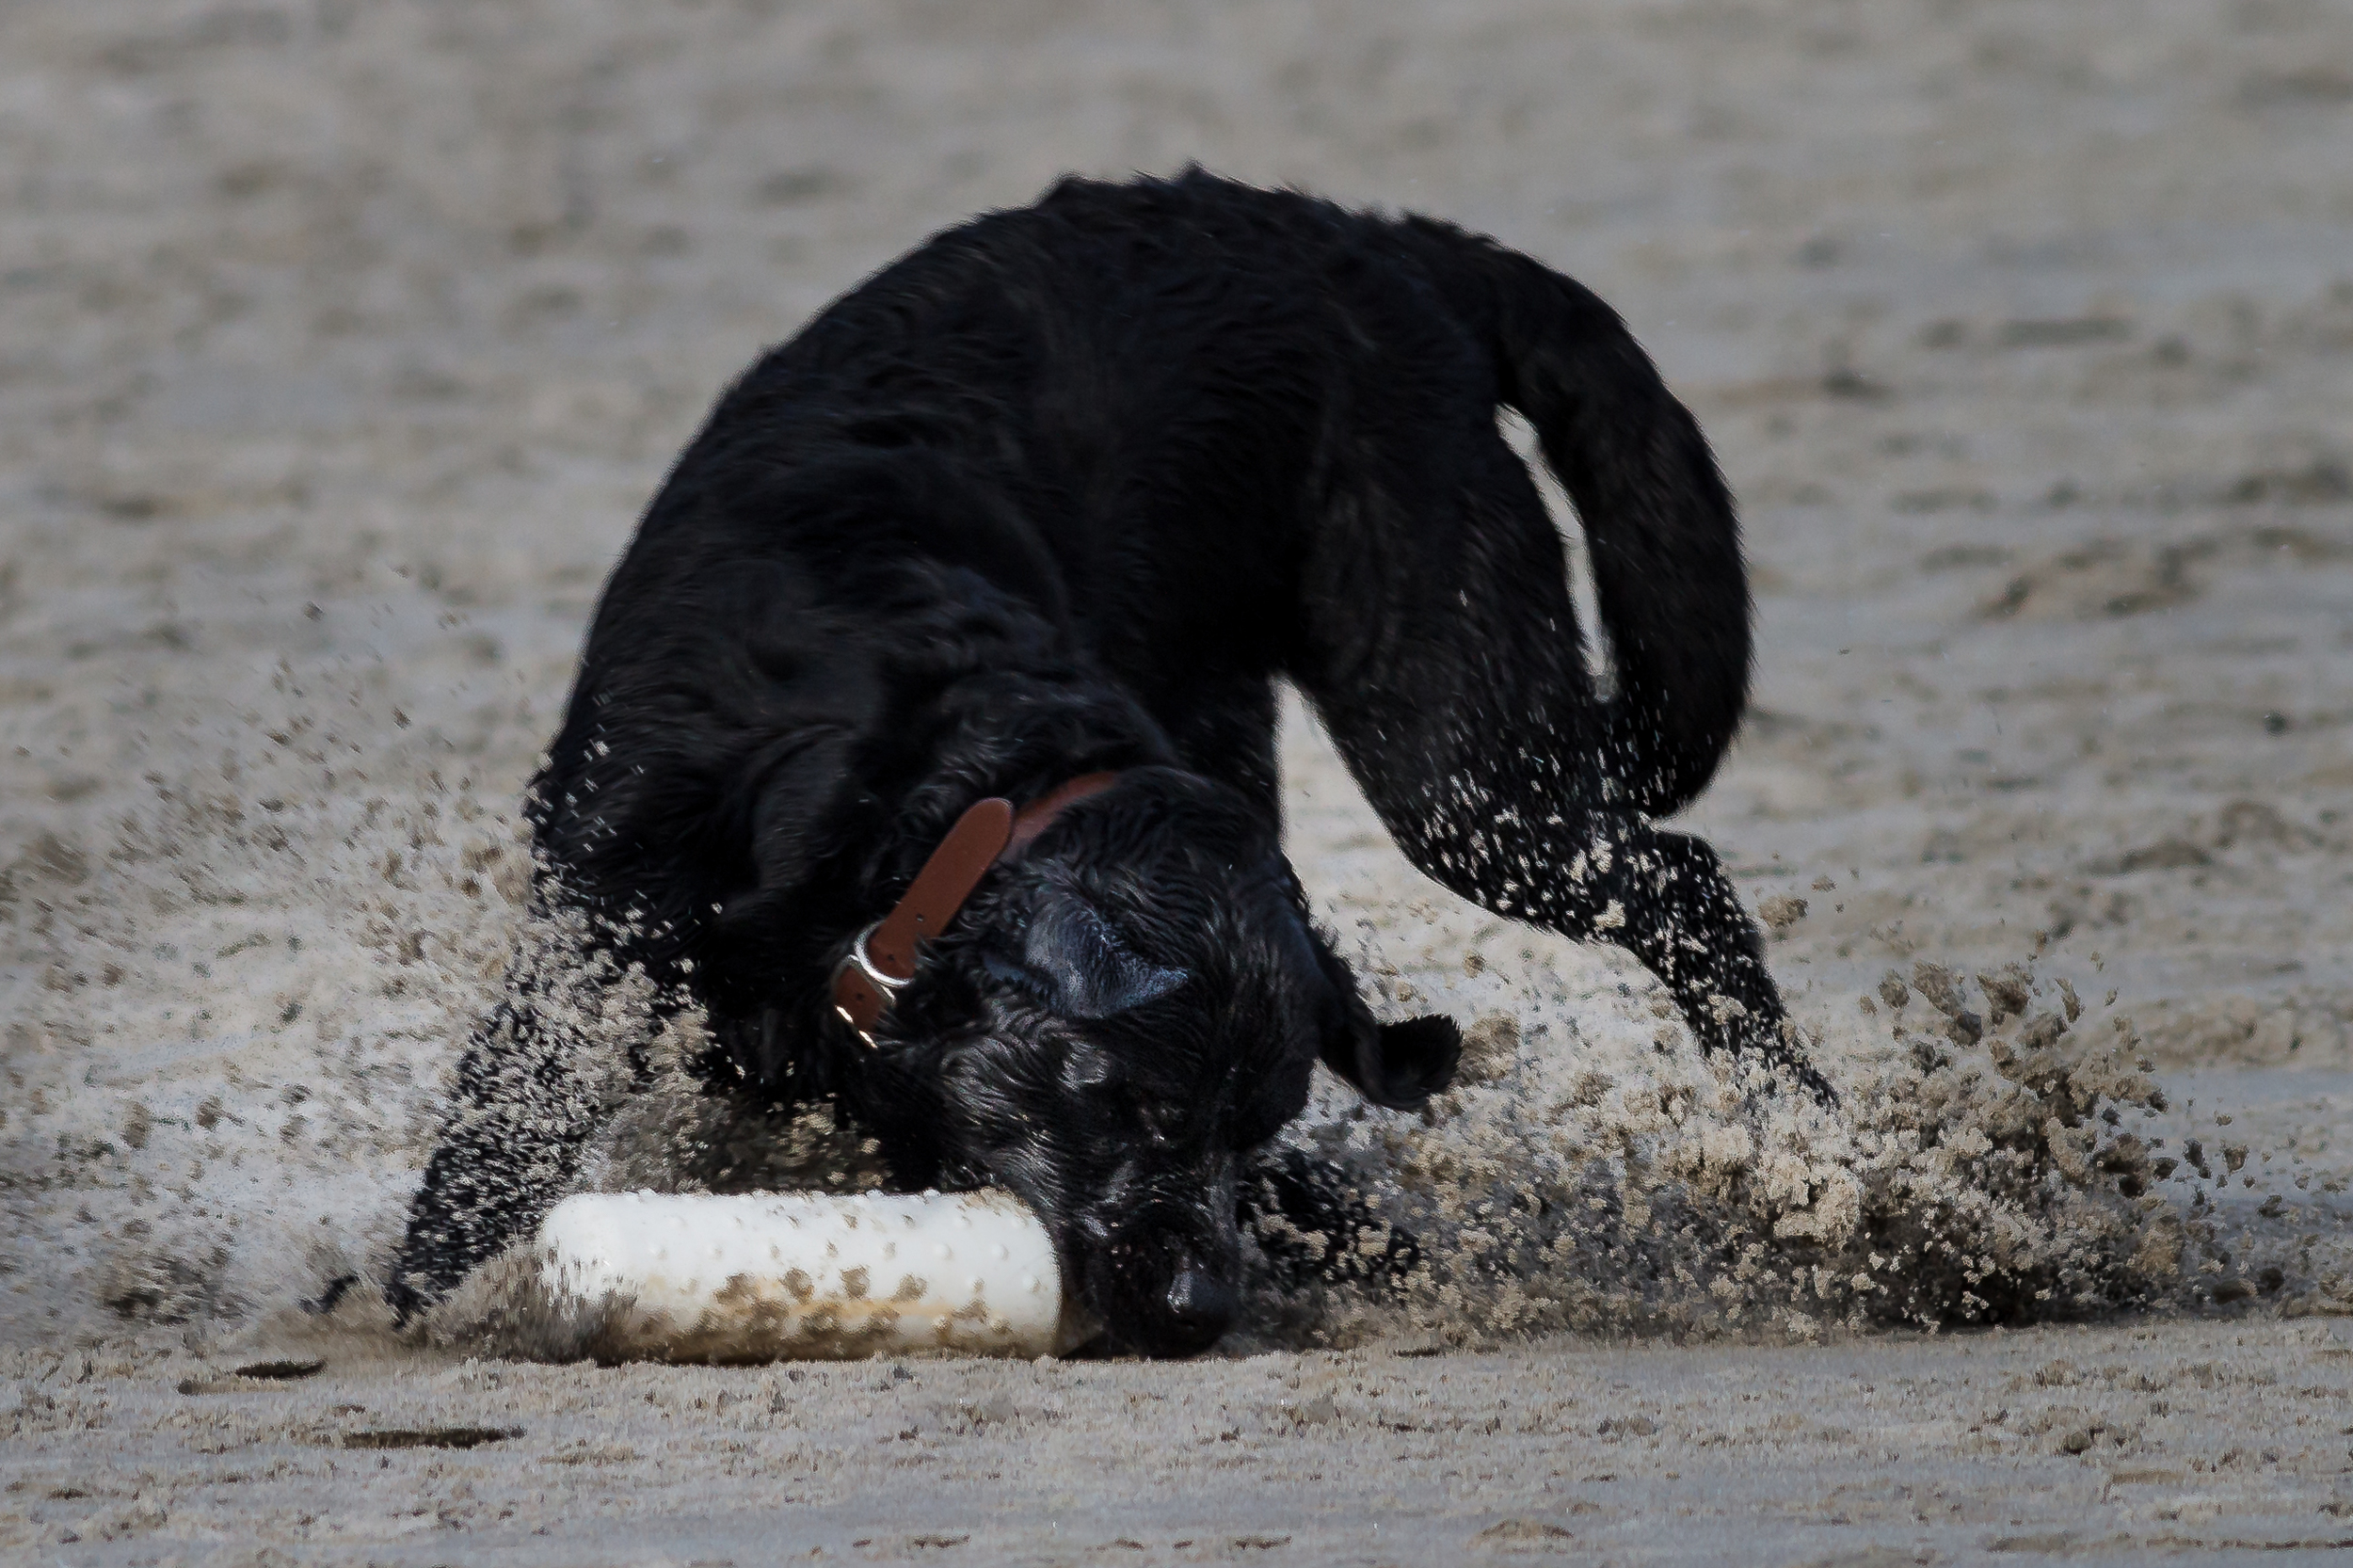
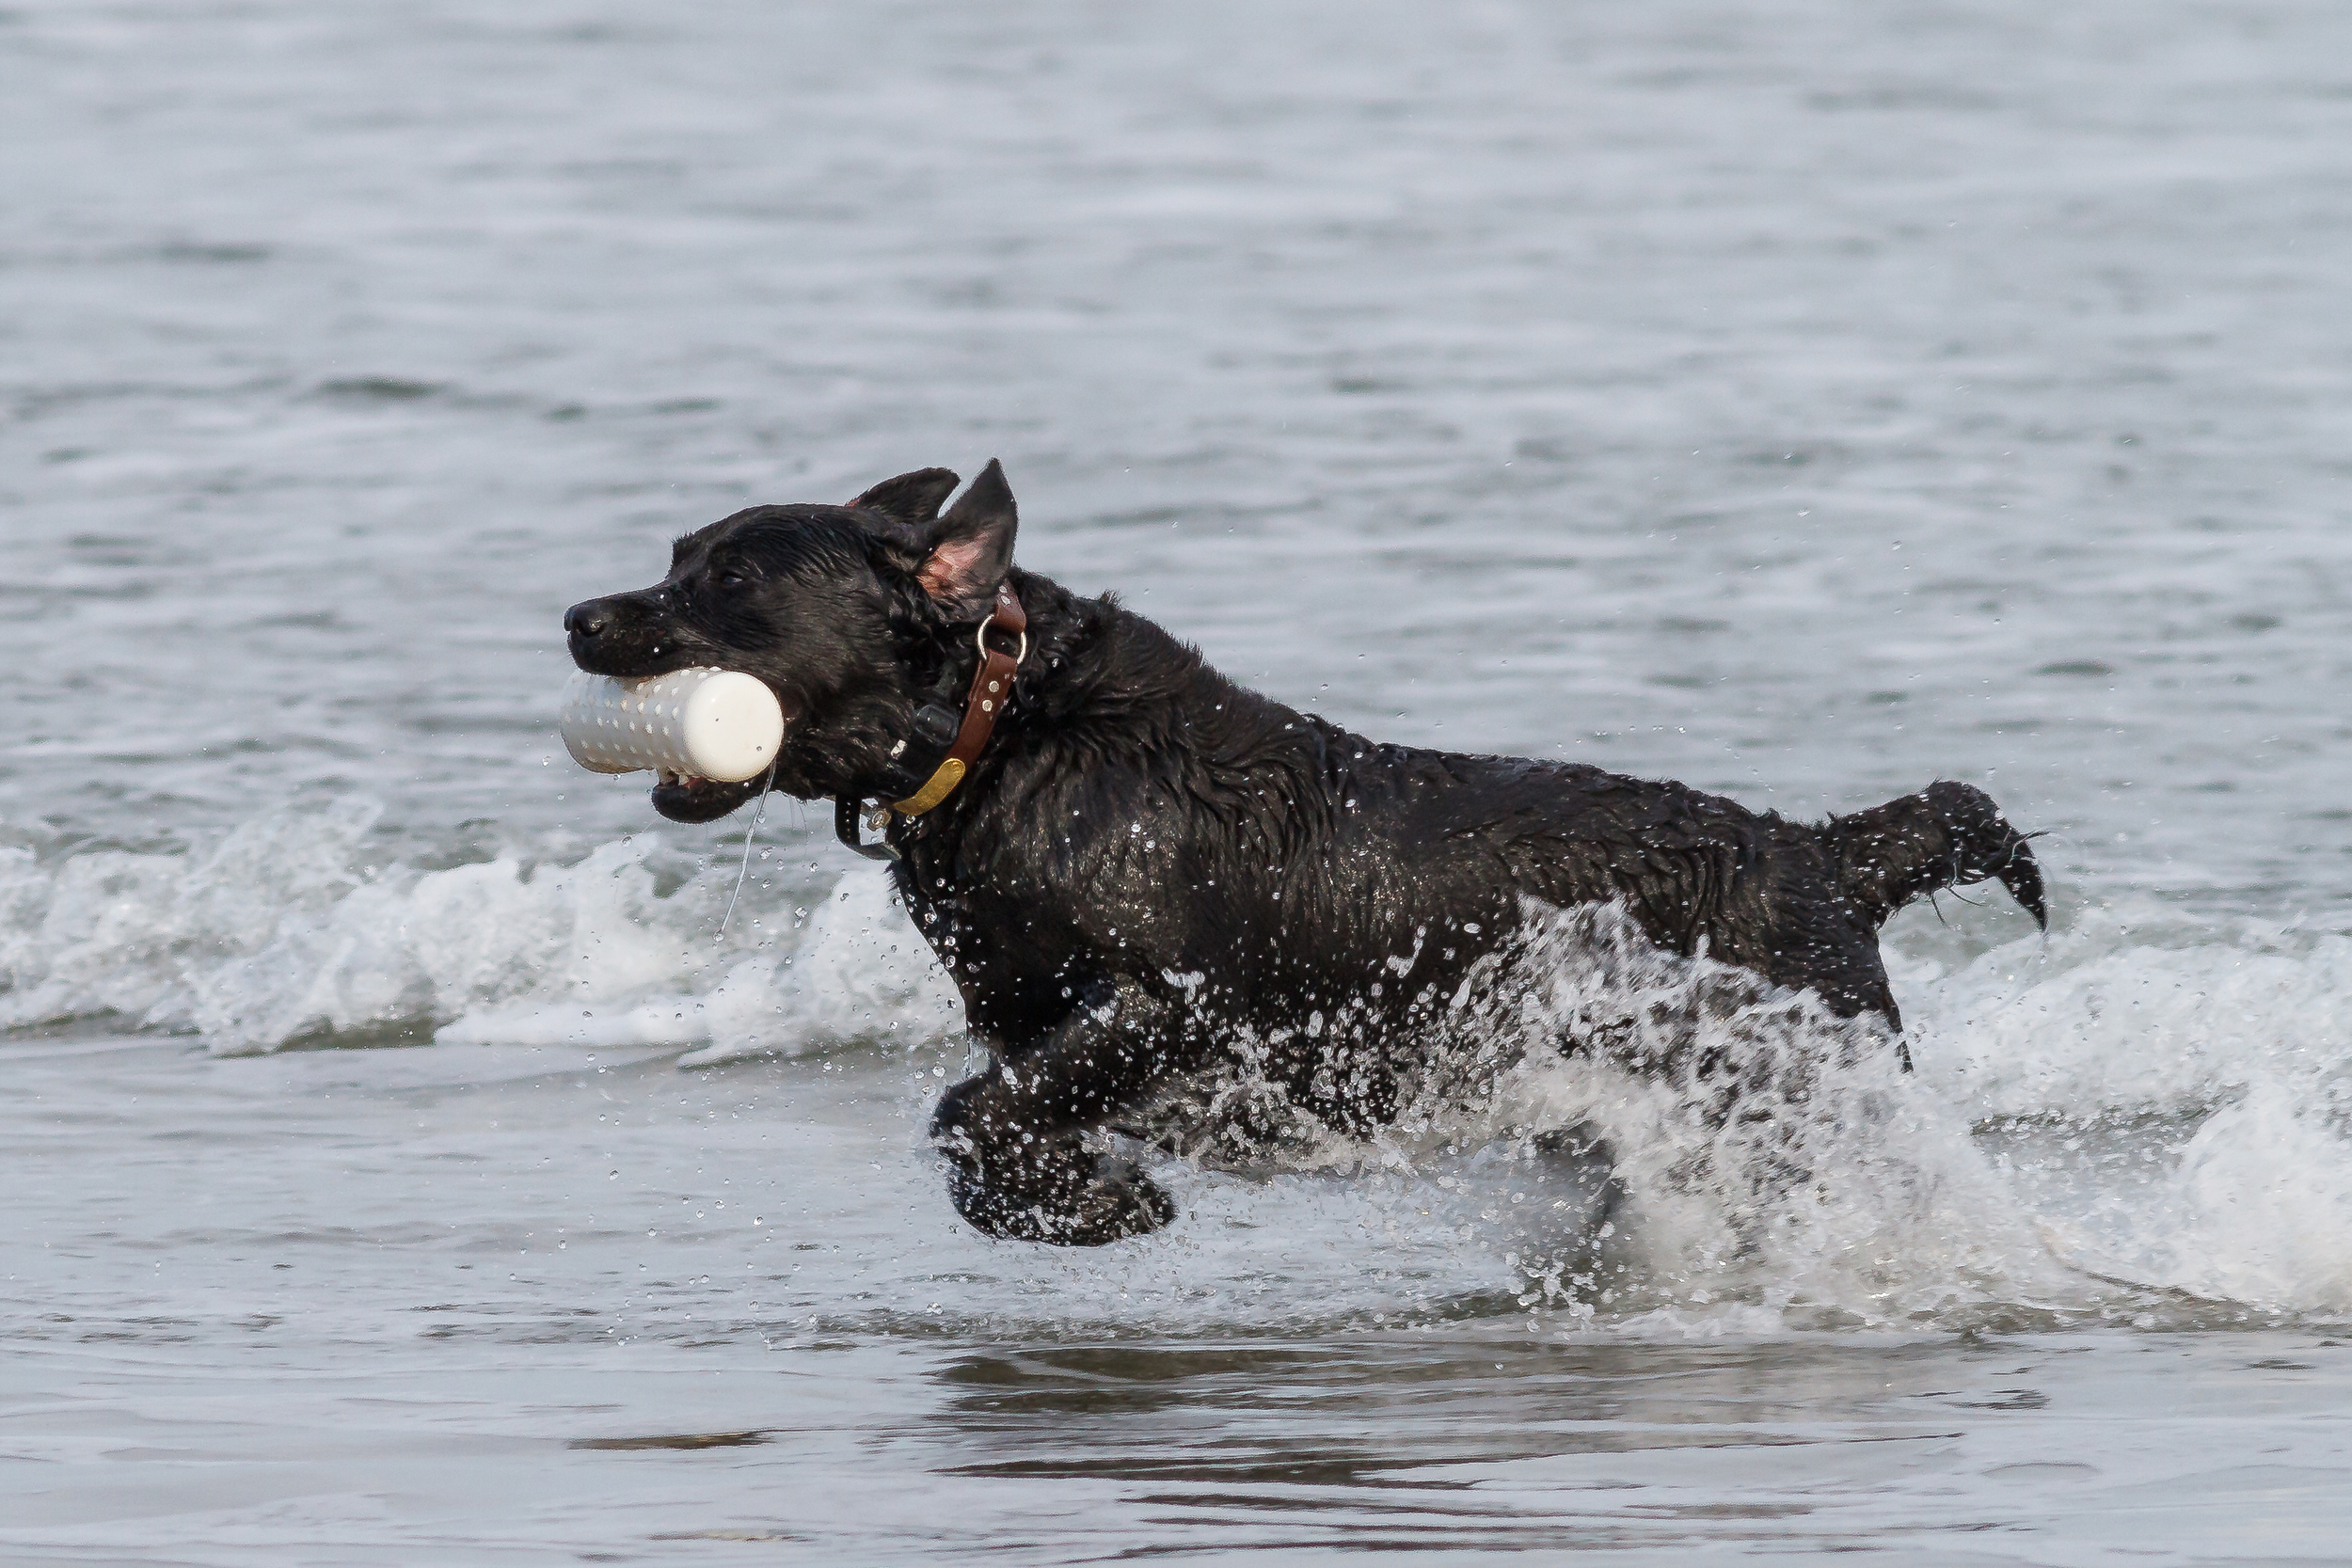
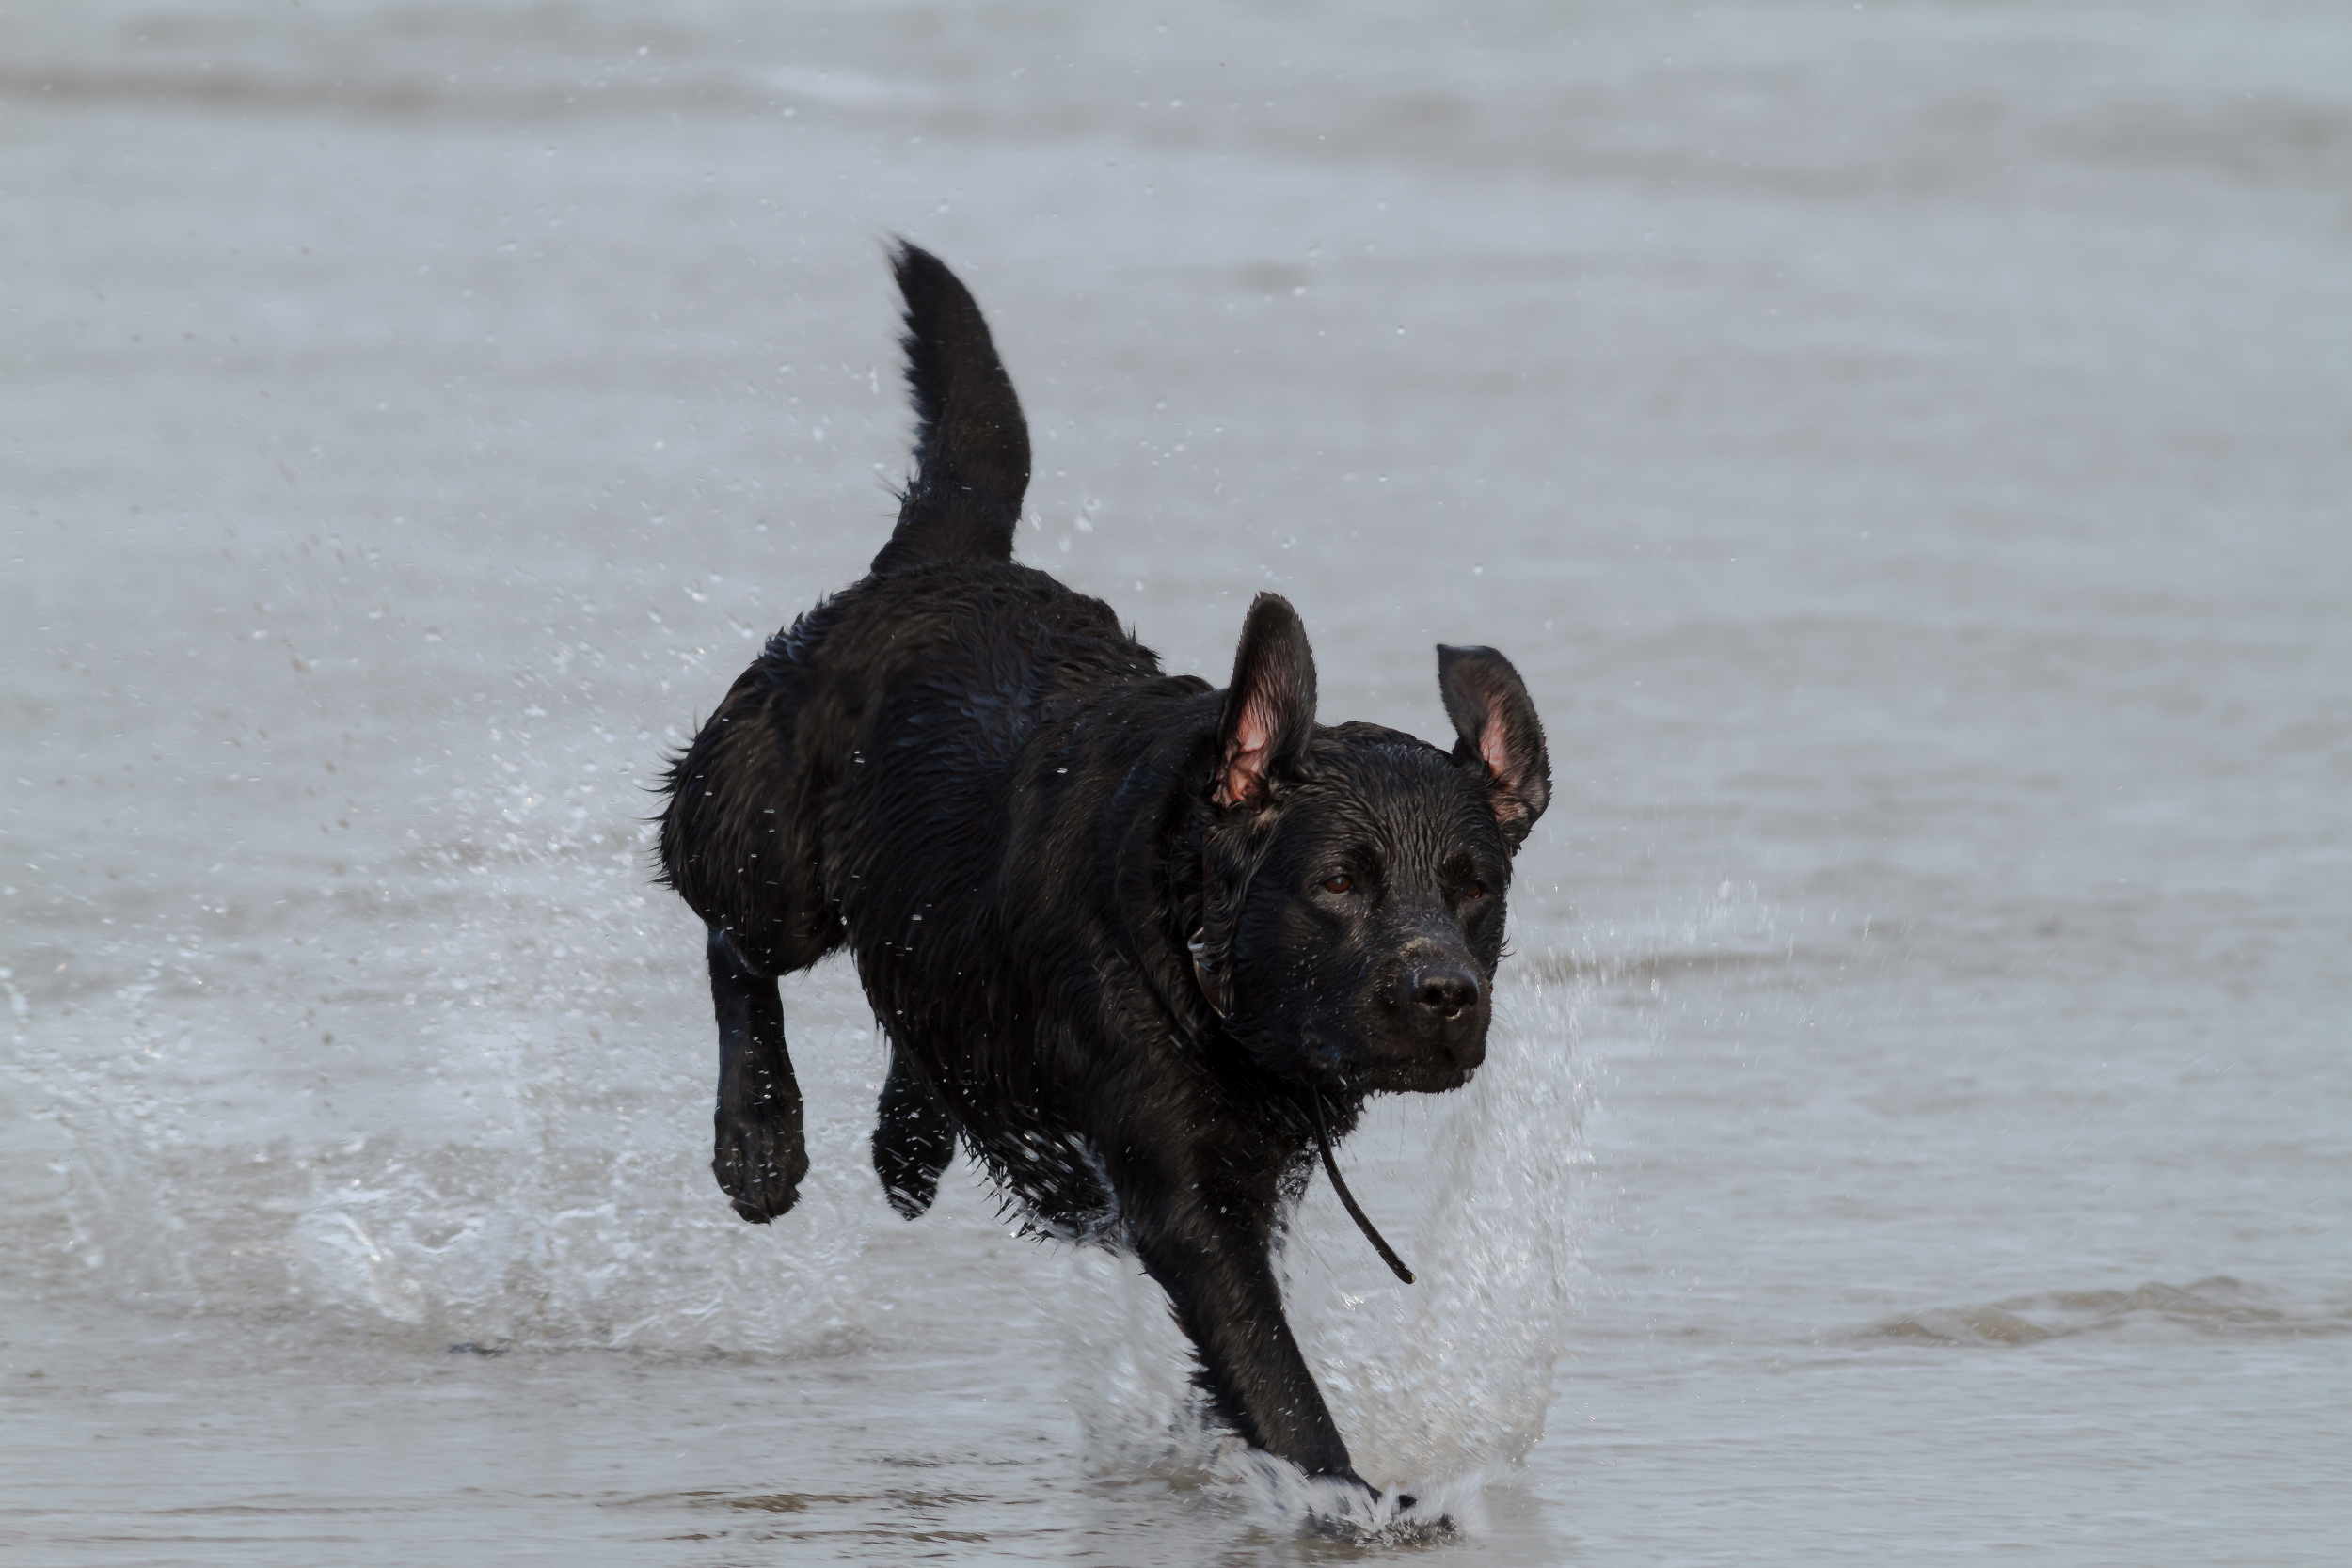
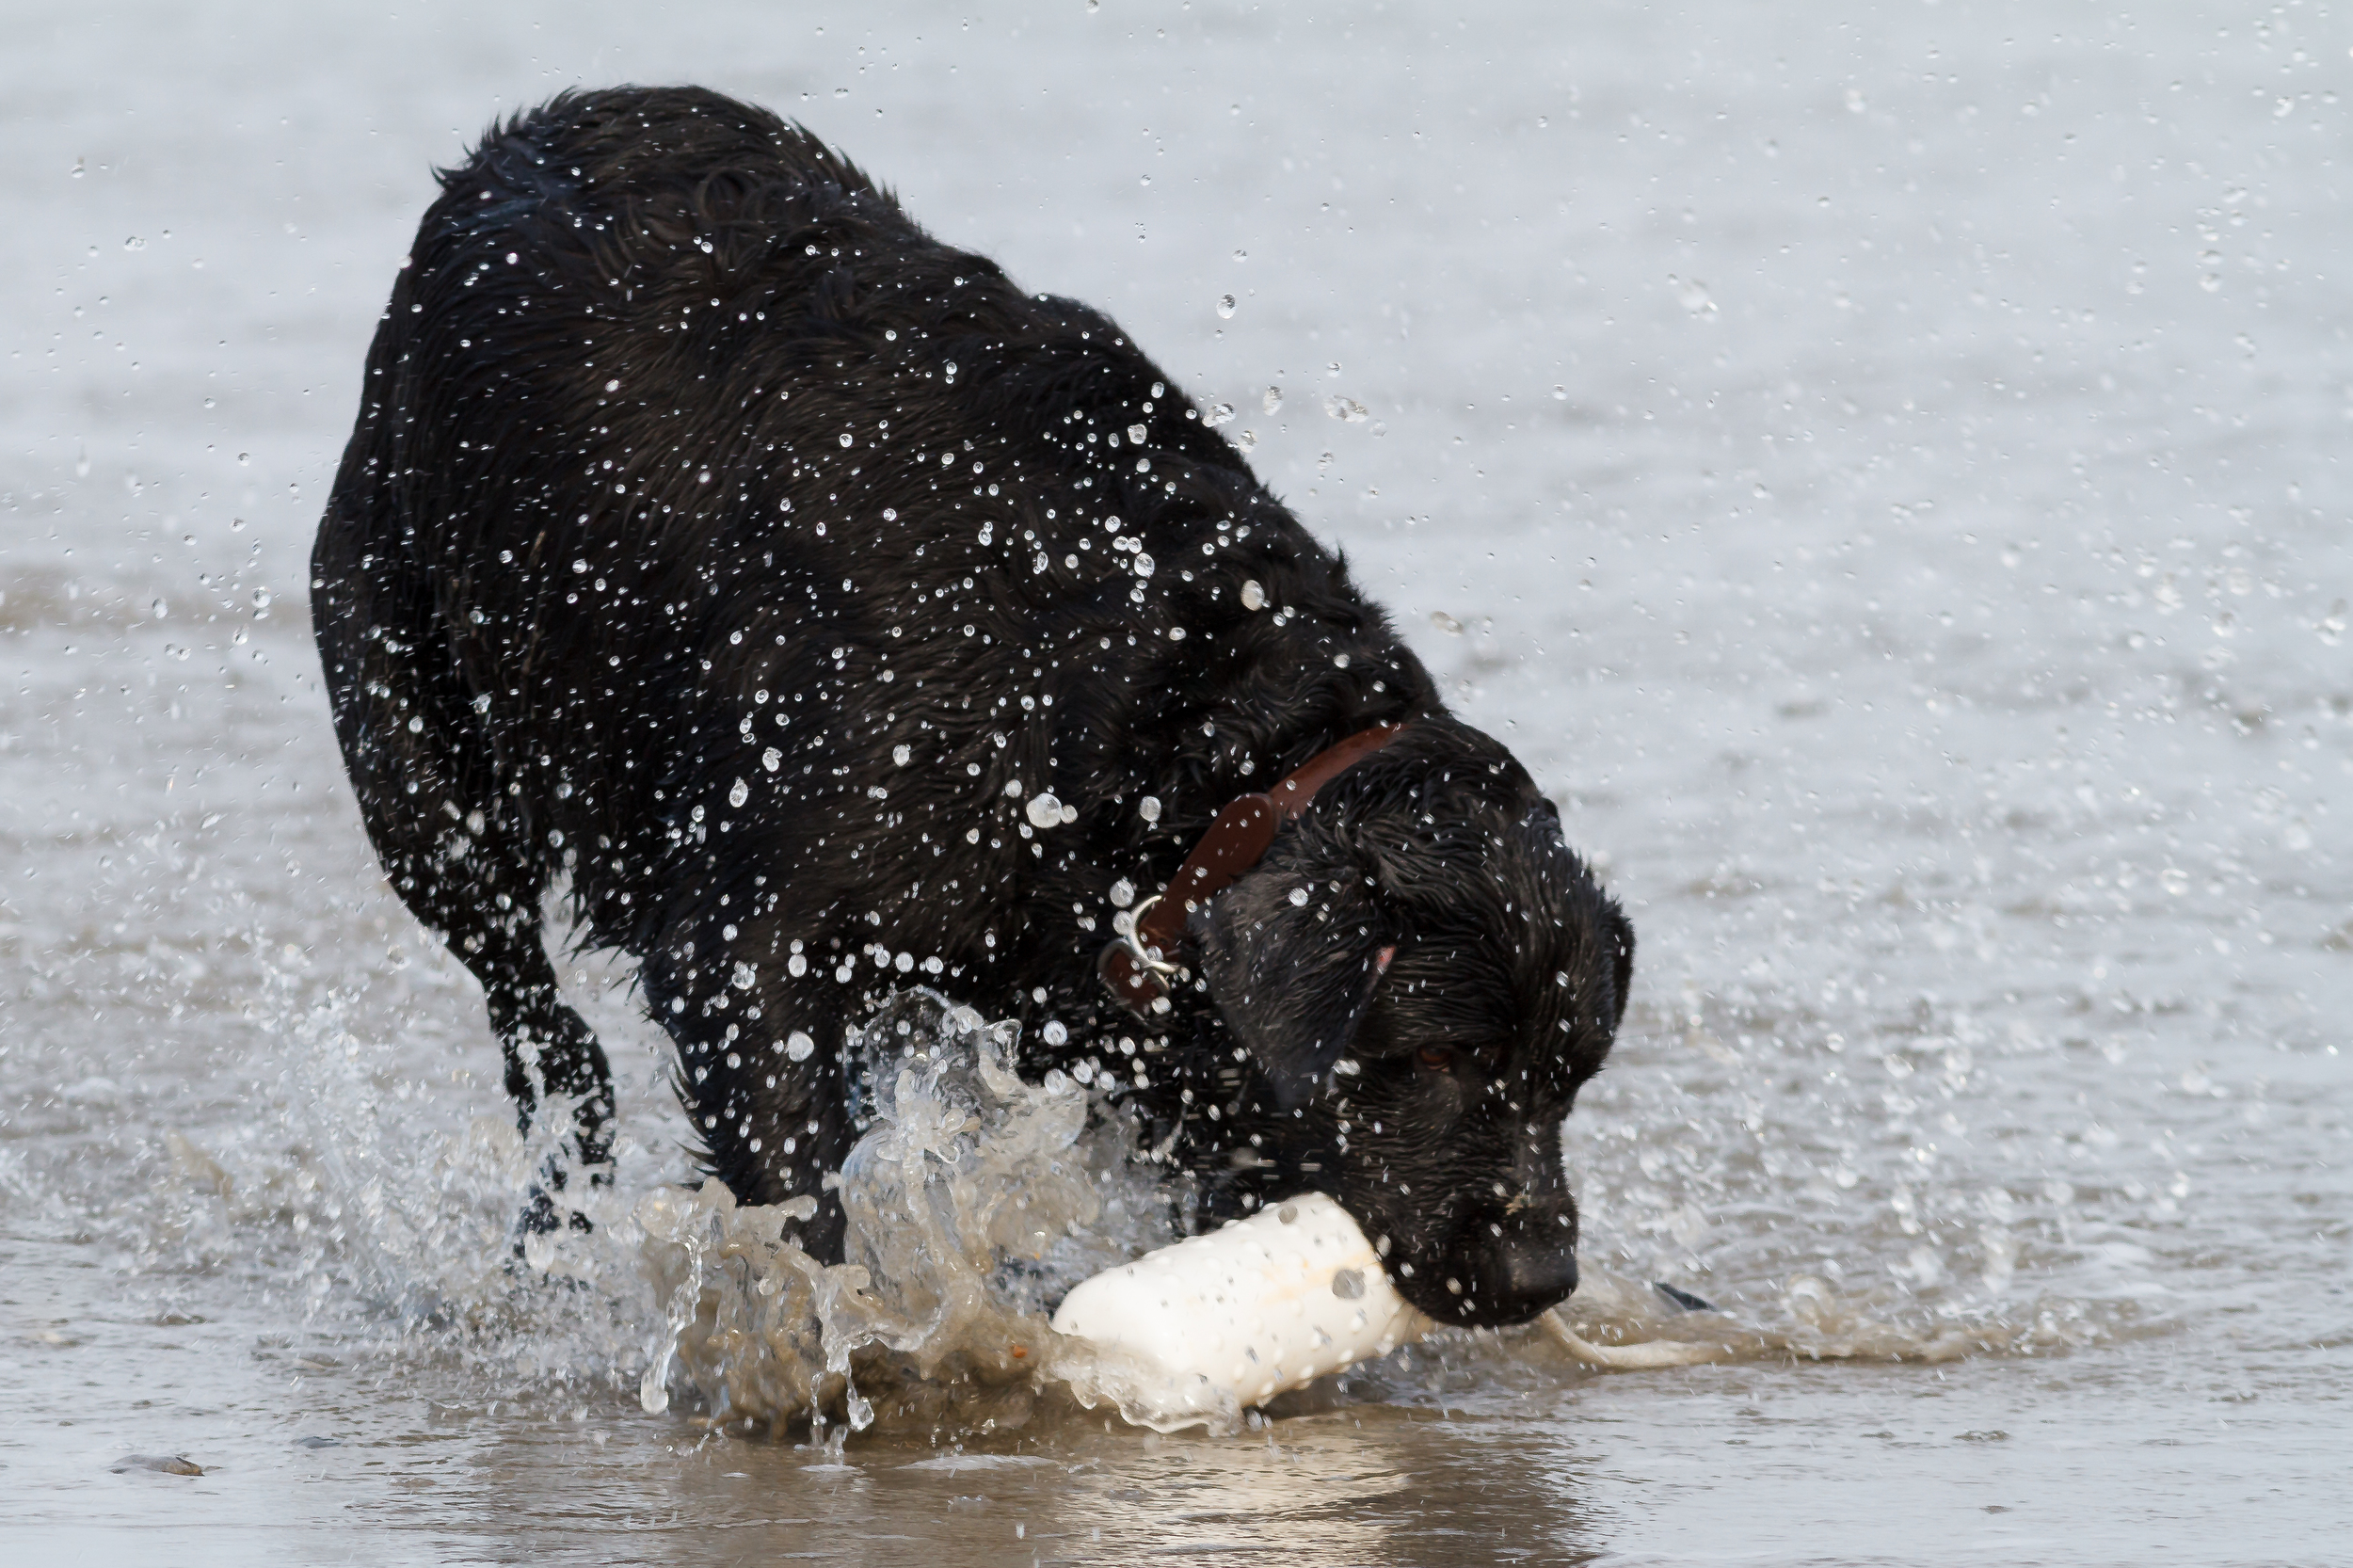
When using depth of field creatively, it’s important to consider how you want your photo to look before you start shooting. If you want everything in your photo to be sharp and in focus, then you should use a small aperture, a low ISO value, and a slower shutter speed. On the other hand, if you want only part of your photo to be sharp and in focus (such as the subject), then you should use a large aperture with higher ISO values or faster shutter speeds. This will help blur out any distracting elements that may take away from the main subject.


Additionally, when working with shallow depths of field, it’s important to pay attention to where you place your focus point; this will determine which part(s) are sharp and which part(s) are blurred out. You can also experiment with different angles or perspectives when shooting; this can help create interesting compositions that utilize shallow depths of field effectively.


Common Mistakes To Avoid & Post-Production Techniques

One common mistake when working with shallow depths of field is focusing on the wrong element; make sure that whatever you choose as your focus point is actually what you want people’s eyes drawn towards! Additionally, if there are any distracting elements that don’t fit within your composition, they can often be corrected or removed during post-production techniques such as cropping or retouching.


Sources:

5 Tips for Capturing Better Action Shots

Gary Detonnancourt


1.  Use a Fast Shutter Speed

I like to have a shutter speed of 1/1000 second or faster for shooting action.

Canon 7D with the Canon 400 mm F/5.6

2.  Use continuous auto-focus and back button focusing

3.  Tap the AF button instead of holding it down continuously.

Many cameras will auto-focus better if you tap the AF button repeatedly during the action sequence rather than holding it down the whole time.

4.  Use the center auto-focus point

I like to use the center auto-focus point and then crop the image later for the composition I want.

5.  Use any custom settings available for tracking action.

Check out my post on optimizing your camera for shooting birds in flight.

Canon's Custom AF settings

Canon's Custom AF settings


Here are some more images from this shoot.


Canon's AF Configuration Tool for Birds in Flight

Gary Detonnancourt

Canon has an AF configuration tool with 6 presets for photographing different types of motion.  It is available on the Canon 1D X, 5D MIII, and there is some form of it on the 6D and 7D MII.  These preset cases can help you get better focus when using AI Servo as the focusing mode.  AI Servo continuously focus on a moving subject and these six presets contain parameters such as tracking sensitivity, Accelleration / decelleration tracking, and AF point auto swithching.

I've been experimenting with these cases for birds in flight.  I used to use Case 1 and wasn't really happy with it.  I tried Case 3 because I wanted faster (more sensative af tracking) and it seemed to work really well for this swan the was flying right toward me.

As you can see in the image above Case 3 uses +1 for Tracking sensitivity, which I found useful because I want to be on my subject as fast as possible and if my AF point falls off, that's OK if it can re-acquire focus very quickly.  I've seen some bird photographers prefer to set this to -1 or 0 so the AF points don't get distracted by other objects and switch to focusing on something else, but I prefer to get on the subject quicker.

The accel. / decel. tracking is set to +1 which works well for subjects that tend to accelerate or decellerate quickly.  Birds in flight may not change speeds quickly but again I'm looking for more sesitivity.

The AF point auto switching parameter isn't very important to me because I usually use a single point AF, sometimes with the 4 box expansion.  Therefore, this function can be set low because I don't use it.

Here is a summary of all six cases:

Case 1 - Versatile multi purpose setting: 0,0,0. Adequate for larger birds in flight in open terrain, not flying right at you. The camera gets on the bird and stays with it if you stay on the bird. A good general setting.

Case 2 - Continue to track subjects, ignoring possible obstacles: -1,0,0. Example 1: When you’re locked onto a bird as it gets behind a floc, and you want to stay on the original bird. Example 2. A medium-sized bird in a thicket where you want the camera to ignore interfering branches as you follow a birds movement.

Case 3 - Instantly focus on subjects suddenly entering AF points: +1,0,0. You’re photographing a flock so it would make sense to pick up the closest birds as you usually want the closest thing to you to be in focus. Another scenarios is that you're on a bird and another nearby one flies in front of it, here it would make sense to switch focus to the near bird rather than the one now further away.

Case 4 - For subjects that accelerate or decelerate quickly: 0,+1,0. A large or medium bird coming right at you, coming in for a landing, taking off or buzzing by fairly quickly. An example would be where a bird leaps off the water, flies at you, and spreads it wings to land.

Case 5 - For erratic subjects moving quickly in any direction: 0,0,+1. Best for birds that change direction quickly such as leaping off a perch.  Works well with 61-point AF expansion, and non-busy backgrounds. Best shot for this setting is to have the bird at a far left or right AF point in anticipation of it flying into the frame.

Case 6 - For subjects that change speed and move erratically: 0,+1,+1. Best for small birds that change direction quickly while in flight.

After all this experimenting, I decided to look up what Aurther Morris had to say on the subject, since he is a bird photography expert.  It looks like I was off a little, he doesn't like Case 3 for birds except that he finds it the best one to customize.  He says that every situation is different but for birds in flight you can't go wrong with this setup.

Tracking sensitivity

I have always felt that the left-most setting (-2, locked on) here is best for birds in flight as the camera will continue focusing on the subject even if an obstacle enters the active AF points or if the active sensor falls off the subject due to operator error. This one has always seemed to be a no-brainer to me yet others prefer either one of the next two more responsive settings, -1 or neutral.

Acceleration/deceleration tracking

This one seems to be another no-brainer to me; with this set to 2, the system continues to focus on the subject if the subject’s speed changes dramatically. With a subject moving towards the camera the system is less prone to focus beyond the subject. And if the subject stops suddenly, the camera is less prone to focus in front of it. As I said, this is another bird photography no-brainer.


AF point auto switching

Well, let’s go for three for three in the no-brainer department; setting this one to 2 allows the camera to switch AF points more quickly if the subject moves dramatically left or right or up or down. Note: this setting has no effect unless you are using 61-point or Zone AF.

I set Case 3 (with my custom settings: -2, 2, 2) for pretty much all of my flight and action photography.

Note: AF point auto switching settings will have no effect when you are in either Single Point or Spot AF.
— Arthur Morris


To create a custom Case, go to the first menu in AF, scroll down to the Case you want to over-write. Hit the rate button on the left side of the camera body and then press the Set button in the thumb wheel. Turn the dial to the left to -2 and hit Set. Scroll down to Accel./decel. and hit Set again. Turn the thumb wheel to 2 and hit Set. Do the same for AF point switching and set it to 2.

Click here for more information from Canon.

Click here for the Canon 5D MIII's AF Setting Guidebook

Also if anyone knows how Nikon handles focusing in AF-C, please post it in the comments.