4. Schedule a pre-wedding shoot
Pre-nuptial photo sessions take the wedding up another notch. Most couples nowadays spring for a pictorial session before the wedding. This is either because they want to use the photos for their save-the-dates or invitations, or simply because they want to have a more relaxed and carefree demeanor in their photos.
Having your prenuptial photo session (or prenups) is also a good way to establish rapport with your photographer. Some grooms, particularly, tend to be camera shy and this preliminary shoot will help ease him gently into the more click-heavy moments during the actual day.
Some couples tend to take the prenups to a whole different level – even going as far (literally) as doing shoots abroad or having fantastic themes. Couples can indulge in pre-wedding photos as far as their imagination (and resources) can take them, from elaborate, movie-inspired themes to “trash-the-dress” fashion editorials.
Other couples also grab this chance to take decent, more formal versions of their on-the-day photos, as the wedding day itself can be a harried experience. They can opt for outdoor or indoor portrait photography while already wearing their actual wedding clothes. This way, their photos are more relaxed and well put together.
5. Prepare a shot list
For the wedding, sit down with your partner and discuss which moments you would want to be highlighted. There may be crucial moments that you really want to be included, such as a tribute to the parents or, perhaps, a special number from the entourage. You can also discuss specific shots, in confidence, with your wedding planner and photographer, especially if you have a surprise planned either for your spouse or for the guests.
You do not have to list down every single shot as you also need to allow the photographer creative leeway. Candid shots can add a very heartwarming touch to any wedding album, so make room for those.
Another way is to break down the shot list to different “segments” of the day.
For example, you can ask your photographer to take shots of:
1. On-the-day wedding preparations: This may include details of the wedding like the invitations, ring shots, the clothes, etc. This can also include the bride being made-up, the groom dressing up, the entourage’s “wacky” prep photos, family portraits, and the like.
2. Ceremony photos: These are the photos taken during the ceremonies which may include the walk down the aisle, the exchange of vows, the “first kiss,” and other such moments.
3. Reception snapshots: These will include anything and everything about the wedding reception – the usual cake-cutting, toasts, dances, and the party that ensues after. Group photos with friends and family can also be taken here.
4. Others: Some couples also want to have “in-between” photos taken. These are editorial-ish shots that are taken in between the ceremony and the reception. Considered to be the “first photos” as husband-and-wife, the in-between shots can be more intimate and may include their first married couple portrait.
Some couples change into a different ensemble for the reception, so this pictorial session can be a memento of the more “formal” first attire.
The Big Day
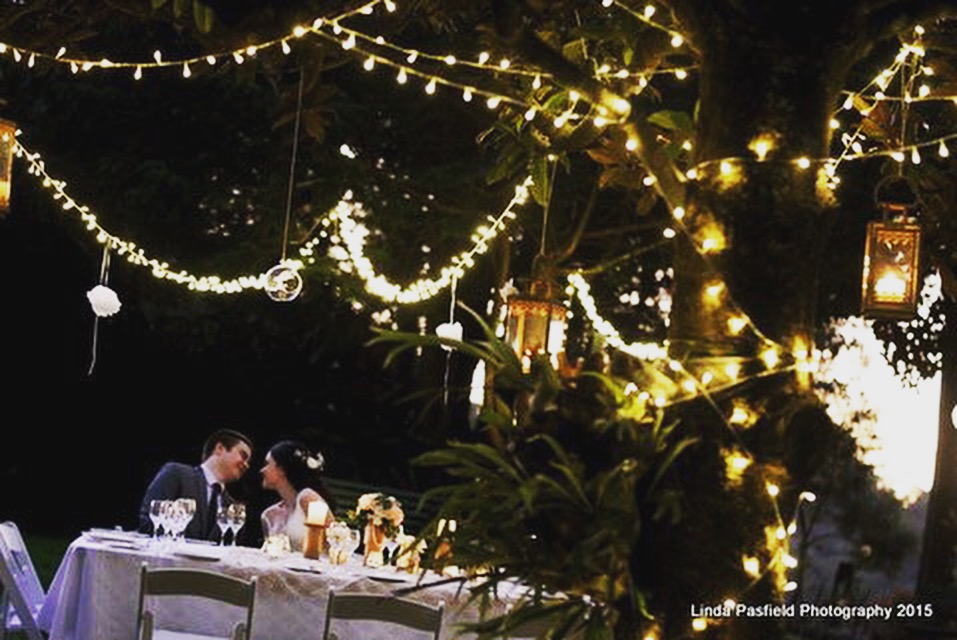
Relax and smile
Since you have prepared well for the wedding day – events all organized and managed, both of you all scrubbed and pampered, your pearly whites all ready to flash a megawatt smile, and both your faces glowing with love and exhilaration -- all you need to do on the day itself is to sit back, relax, and enjoy watching the movie of your life unfold.
If you allow yourself to be stressed, your photos will also reflect that. Designate certain responsibilities to trusted people like friends and family if you do not have a wedding coordinator. The key to having the perfect photos of your wedding day is to have a wonderful time experiencing the moment.
When you are having a good time savoring every second of your wedding day, it will naturally show. Trust your photographer to capture these moments.
Happily Ever After
Post-nuptial photos
Some couples also schedule a post-nuptial photo session (postnups) with their photographer.
This session could be another chance to take portraits of the couple that was not possible to be taken during the day (because of unforeseen circumstances like weather) or it could be a whole separate thing entirely.
Much like prenups, postnups can be as elaborate and imaginative as possible. Especially for destination weddings, postnups can be a more intimate photo session of the couple as a married pair. It can also already show them on their honeymoon or enjoying the after-wedding party with friends and family.
Getting married is a milestone in life that deserves special attention. The precious moments captured on camera can be a testament to love that you can revisit and reminisce afterward. Investing time, money, energy, and resources into creating picture-perfect moments on your wedding day can be a gift that you can give to your children and your children’s children.
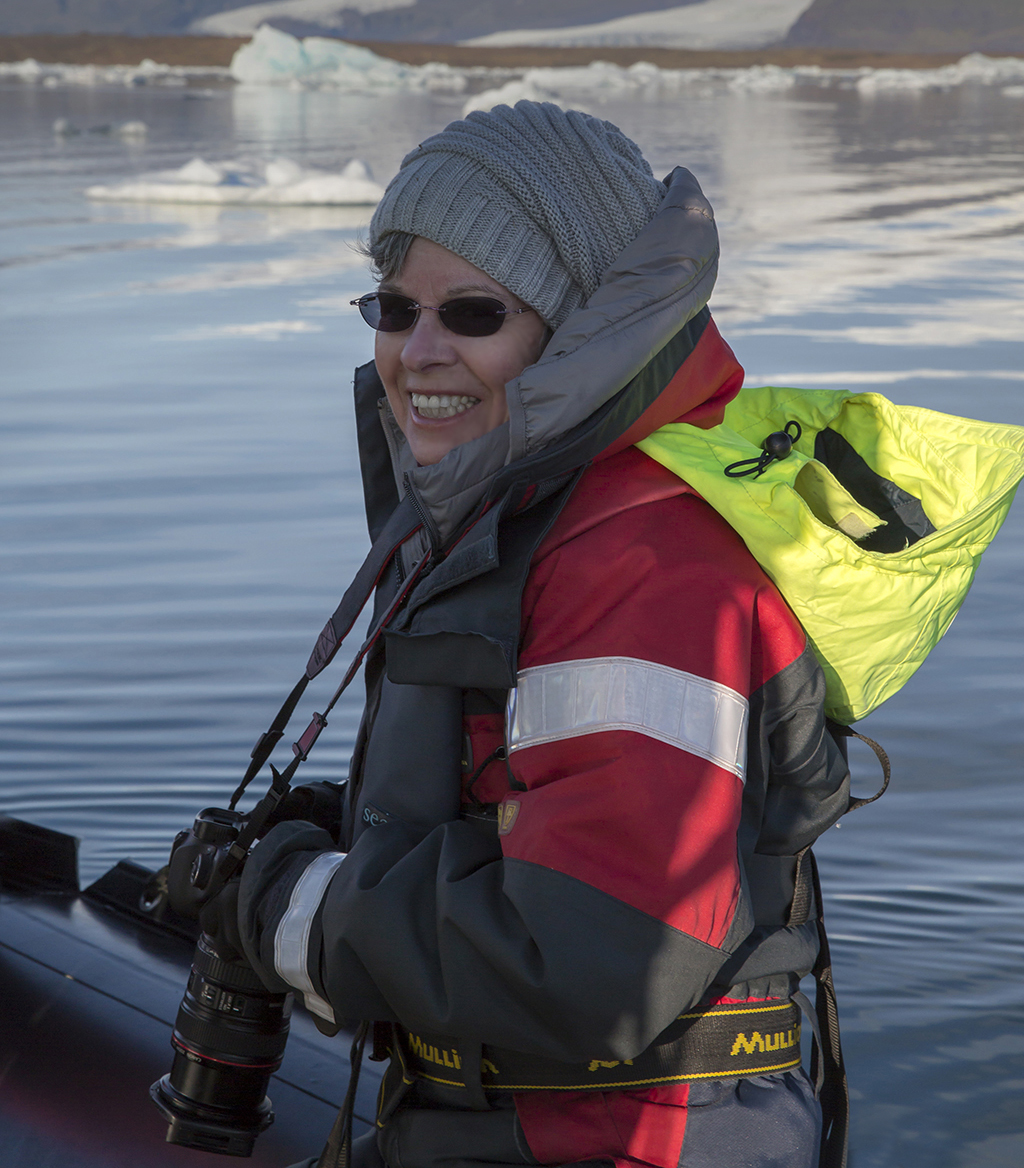
AUTHOR BIO
Linda Pasfield is best known for her skill to capture emotion on film and expression in an art form. Linda has had 20 years of experience photographing weddings, portraiture and documentary. She is an award winning photographer and Linda's career has taken her worldwide, photographing for Olim Aid International, Worship Centre and Cross Rds, and numerous other organisations. Photography is Linda's passion and "capturing the true feelings on the day, blending creativity and lighting in the right way is a joy."